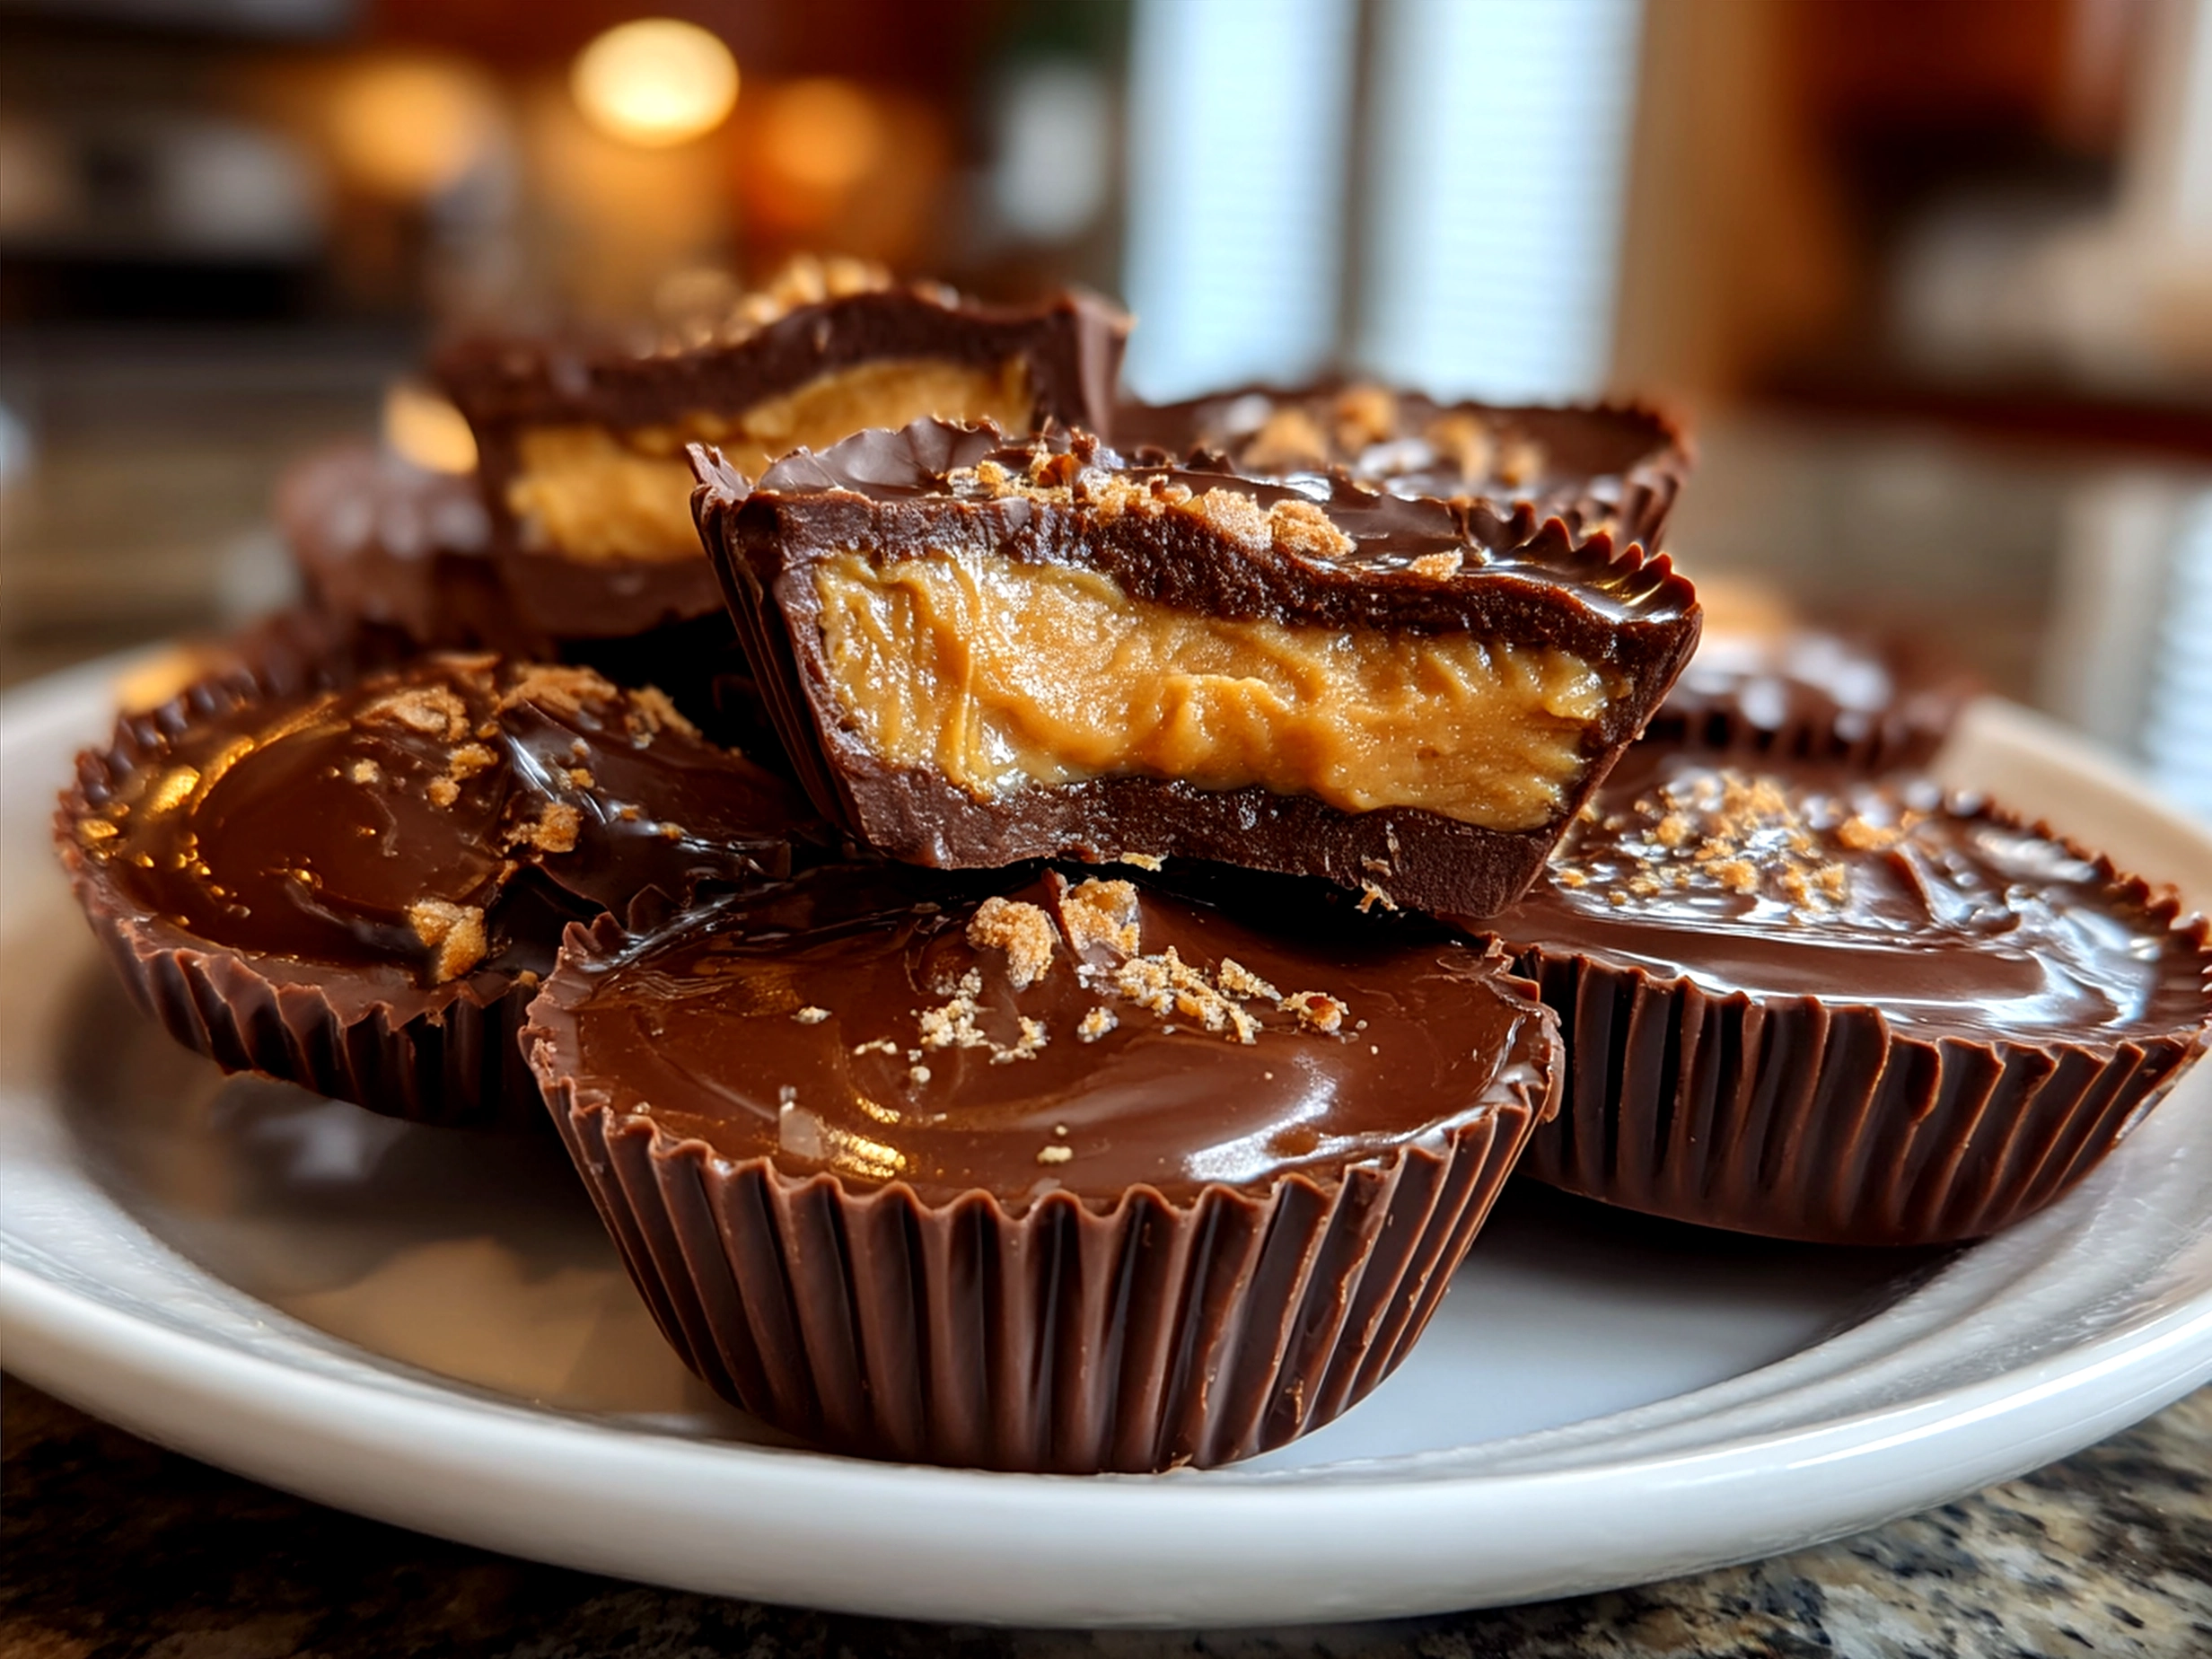
I still remember the exact moment when my family first sank their teeth into homemade Reeses Peanut Butter Cups. It was a crisp weekend afternoon, and I had been tinkering with ways to balance the bold chocolate and peanut butter flavors just right. Honestly, it was a kitchen adventure filled with trial and error, but the payoff was pure magic. My kids’ surprised smiles and my spouse’s repeated requests made me realize that these Reeses Peanut Butter Cups were quickly becoming a family tradition. The authentic flavors brought us closer around the kitchen table, sparking conversations and laughter.
Crafting Reeses Peanut Butter Cups was more than a recipe—it became a shared experience. I began paying closer attention to the balance of sweetness and saltiness in the peanut butter, the richness of the chocolate, and even the temperature at which I melted everything. The sensory cues, like the smell of melting chocolate that filled the kitchen, became part of the story we share every time these treats appear. This journey has taught me how simple ingredients, when prepared thoughtfully, can create genuine connection and joy.
For anyone out there looking to add something meaningful to their family meals, Reeses Peanut Butter Cups offer that warm, authentic flavor everyone craves. If you’re a fellow flavor seeker aiming to make this delightful chocolate peanut butter candy, I invite you to join me in discovering the satisfying simplicity behind how to make peanut butter cups. Together, we’ll honor authenticity without complexity, so your family’s taste buds and hearts are fully satisfied.
Ingredients You’ll Need:
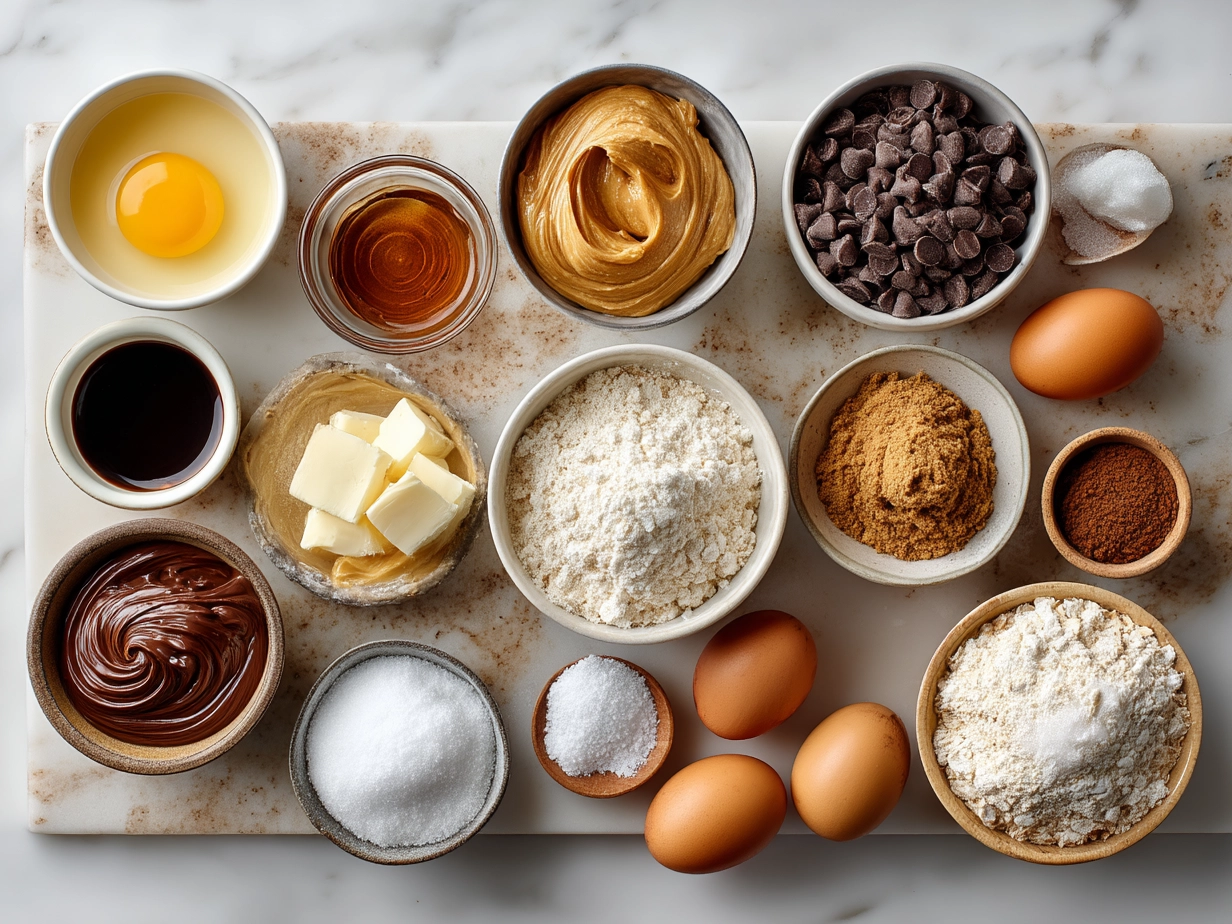
Here’s the ingredient lineup for your Reeses Peanut Butter Cups. Trust me—quality matters here because these flavors need to pop just like the originals.
- 1 cup creamy peanut butter (choose unsweetened, natural for authentic Reese’s peanut butter ingredients)
- 1/4 cup unsalted butter (adds richness without overwhelming sweetness)
- 1 cup powdered sugar (balances the peanut butter’s saltiness)
- 1 1/2 cups semi-sweet chocolate chips (real chocolate is key for that signature flavor)
- 1 teaspoon vanilla extract (my family loves this extra touch for depth)
- Pinch of sea salt (to brighten and enhance all the flavors)
For the freshest ingredients, I recommend stopping by your local natural foods store or the baking aisle at a farmer’s market, especially for the peanut butter. Avoid highly processed versions to keep the flavor true. The buttery smoothness paired with just a pinch of sea salt works like a flavor secret, lifting the whole Reeses Peanut Butter Cups experience.
This Reeses Peanut Butter Cups proves that authentic flavor comes from thoughtful ingredient choices and simple preparation. You might find fresh vanilla extract near the baking spices—grab it! That little addition really makes a difference when paired with the rich chocolate peanut butter candy. Remember, prepping your ingredients ahead, like sifting the powdered sugar and softening the butter, will save time and keep your mixture smooth.
Let’s Create This Together!
Ready for a little kitchen magic? Follow along, and I’ll walk you through how to make these homemade Reeses Peanut Butter Cups side by side.
- Mix the peanut butter and butter: Place your peanut butter and unsalted butter in a medium bowl. Using a handheld mixer or sturdy spoon, blend until creamy and smooth. This combination is the heart of your Reese’s candy ingredients.
- Add powdered sugar and vanilla: Gradually add powdered sugar while mixing to keep it even. Then pour in the vanilla extract and a pinch of sea salt. Stir well, then set aside your perfect peanut butter filling.
- Prepare your molds: Line a mini muffin tin with paper liners or use silicone molds for easy removal. This step helps your Reeses Peanut Butter Cups come out looking neat and professional without fuss.
- Melt the chocolate chips: In a microwave-safe bowl, heat chocolate chips in 30-second bursts, stirring well between each. Your Reeses Peanut Butter Cups will start to fill your kitchen with an irresistible aroma—take a moment to enjoy this.
- Layer the chocolate: Spoon about a teaspoon of melted chocolate into each mold. Tilt the tray gently so the chocolate coats the bottom evenly.
- Add peanut butter filling: Place about a teaspoon of the peanut butter mixture on top of the chocolate layer. Don’t worry about it being perfect; your family will love those little rustic touches.
- Top with chocolate: Cover the peanut butter layer with another teaspoon of melted chocolate. Press lightly to seal everything in and smooth the top with your spoon.
- Chill and set: Refrigerate your molds for at least an hour. You’ll know your homemade Reeses Peanut Butter Cups are ready when they pop free easily and hold their shape.
In my kitchen, this flavorful Reeses Peanut Butter Cups recipe typically takes about 90 minutes from start to finish, including chilling time. Don’t rush the setting step! It’s where the magic finishes—flavors deepen, and textures come together perfectly. I learned early on that skipping the chill changes the texture and flavor harmony, and that’s a flavor victory you’ll want to hold onto.
How We Love to Enjoy This!
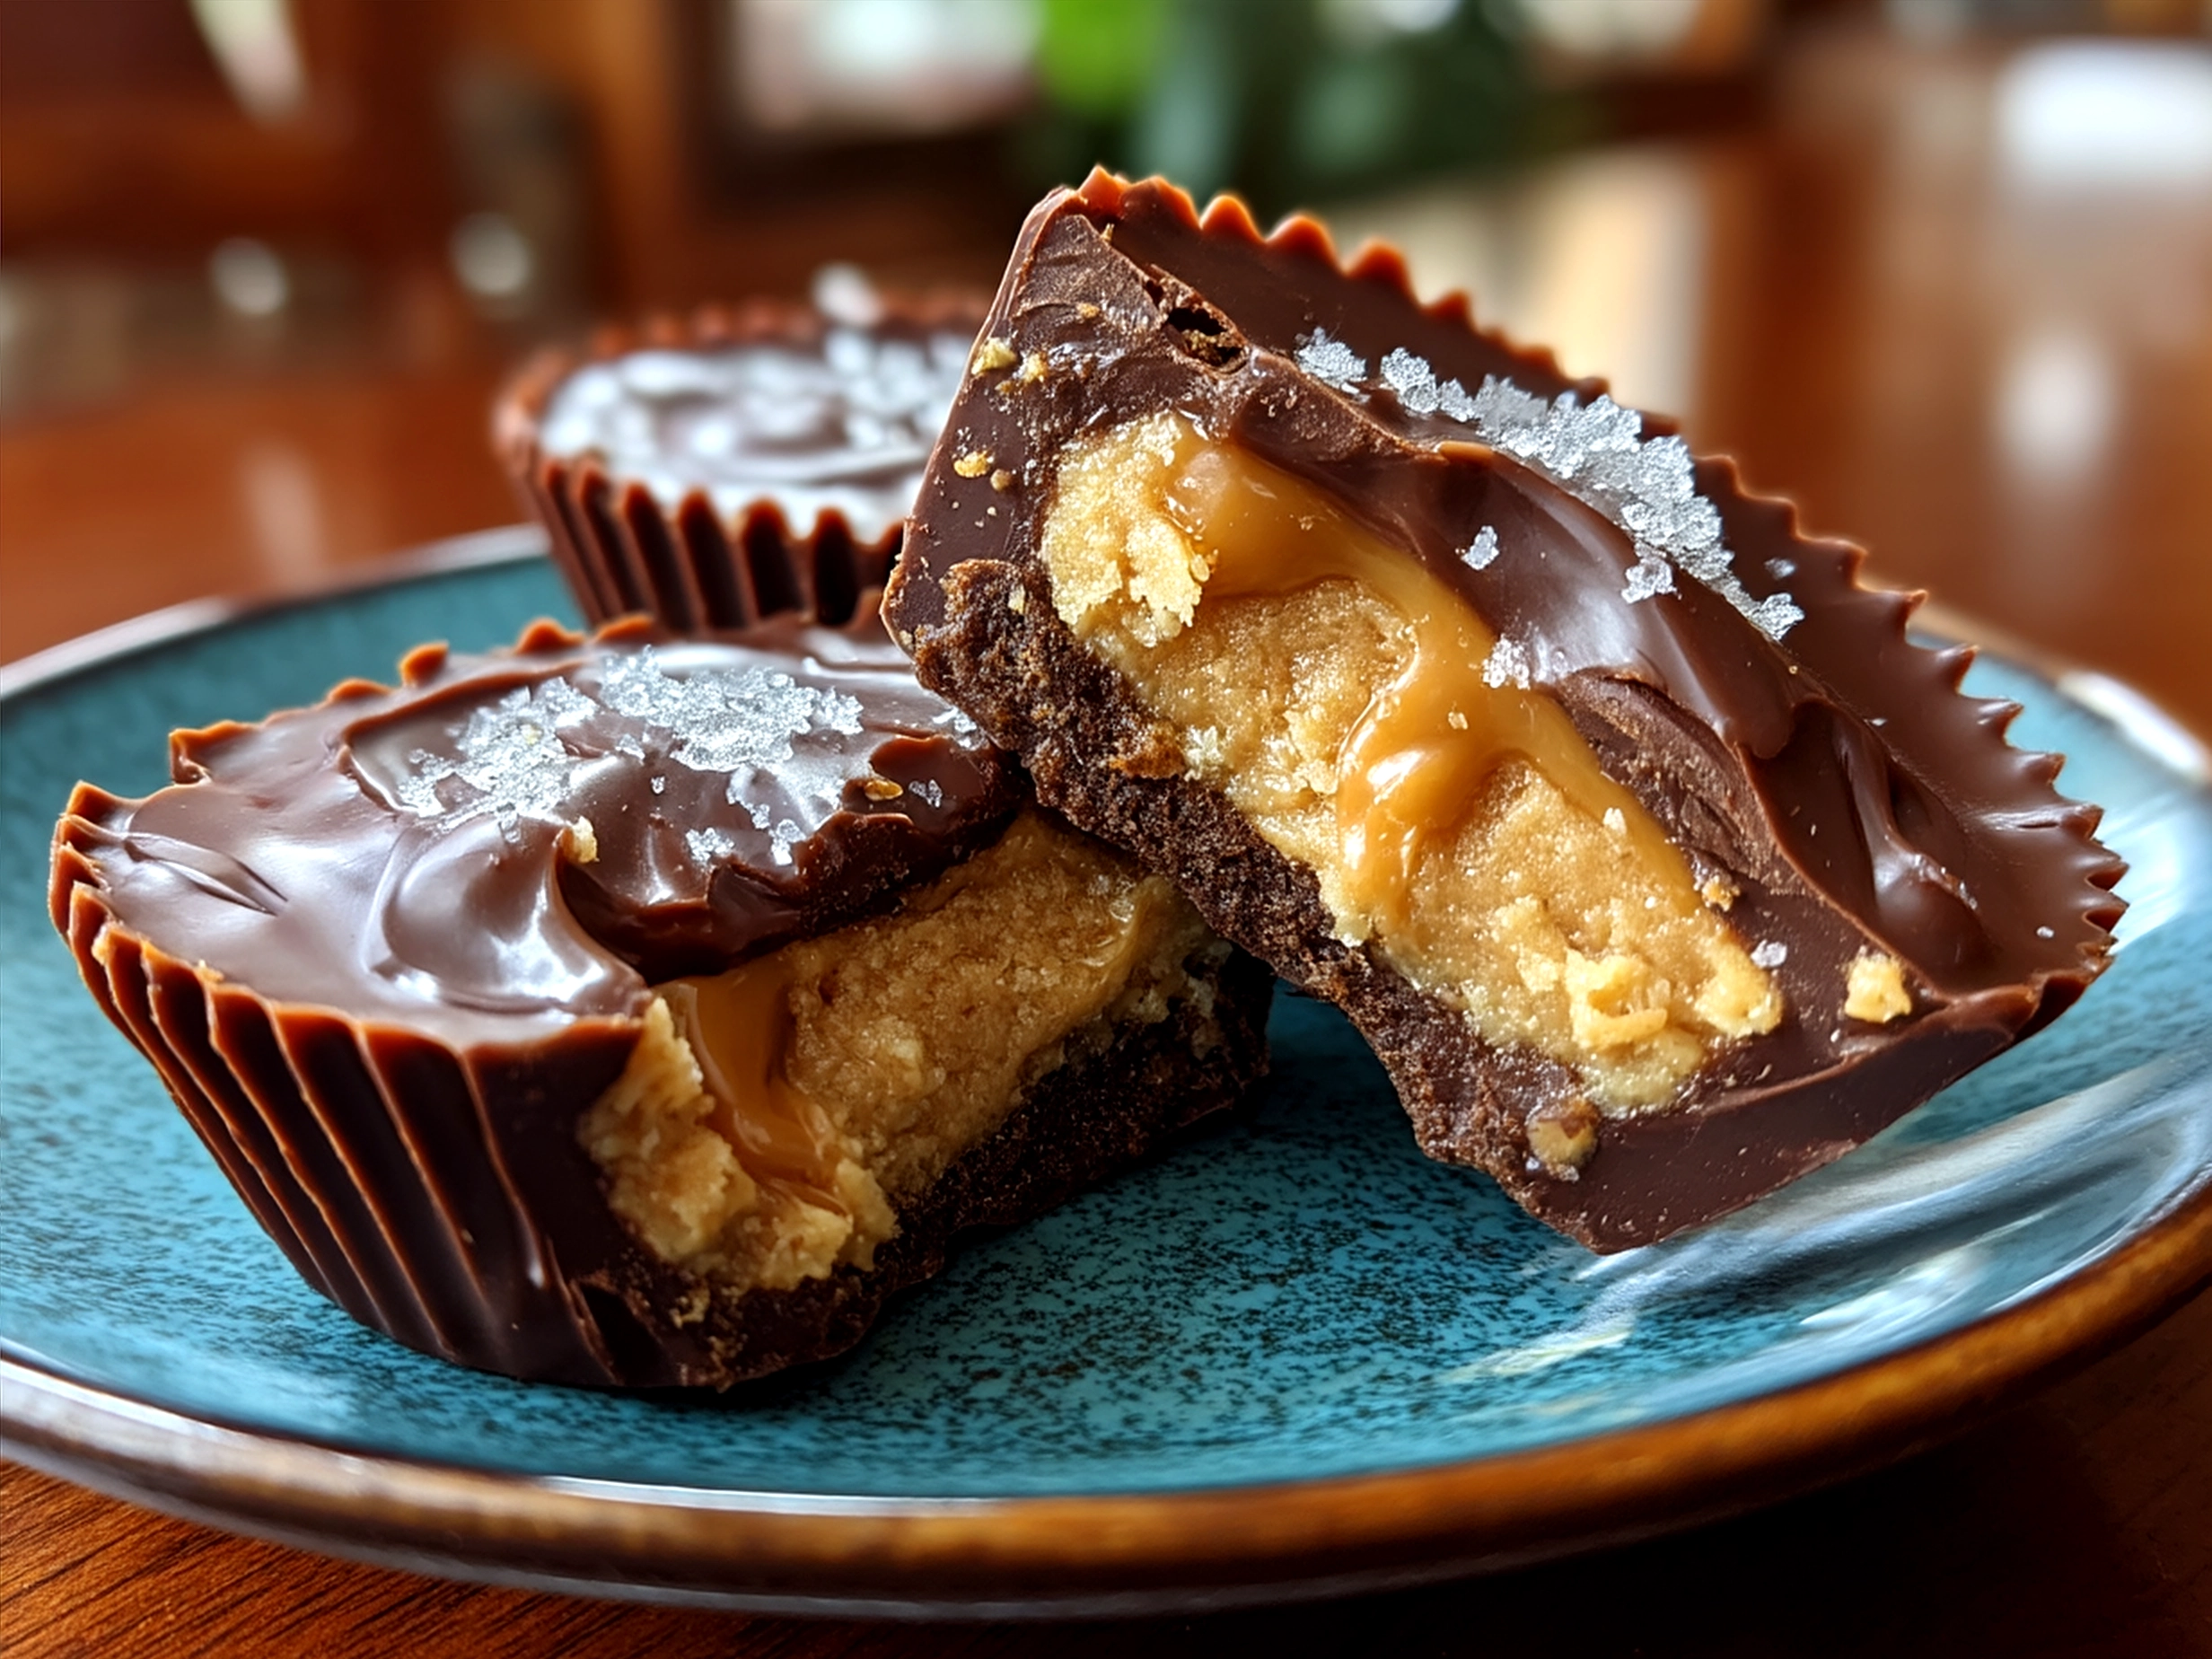
Our family never empties the tray fast enough once these Reeses Peanut Butter Cups hit the table. They make the perfect after-dinner treat, paired simply with a glass of cold milk or a warm cup of tea. The subtle salt in the peanut butter filling pairs beautifully with the bittersweet chocolate, so no other dessert needed.
These bites also make an excellent gift for neighbors during seasonal gatherings. We like to package them in little cellophane bags tied with twine—simple but charming presentation that highlights the authentic flavors inside.
Leftovers? The family has fun chopping them into chunks as a topping over homemade ice cream or mixing into our favorite chocolate peanut butter pie recipe from JustFlowe. It’s the kind of resourcefulness that keeps food joyful and waste low.
For guests who prefer milder sweetness, I sometimes swap semi-sweet chocolate chips for milk chocolate—still a fan favorite! This Reeses Peanut Butter Cups works beautifully for casual evenings or holiday celebrations when everyone craves something familiar yet uniquely homemade. Hands down, it’s a family favorite that’s never too rich or overpowering.
FAQs: Your Questions Answered
A1: Absolutely! These candies are quite rich and filling because of their balanced peanut butter and chocolate ratio. My family has found them the perfect small treat that leaves everyone happily satisfied.
A2: You can adjust by swapping semi-sweet chocolate for milk chocolate or reducing the amount of powdered sugar in the peanut butter mixture. It’s always smart to taste test a small batch first.
A3: Yes! These cups store beautifully in the fridge for up to two weeks and freeze well too. I keep a batch ready for those busy days when a quick sweet fix is needed.
A4: Definitely! Some readers love swapping peanut butter for almond or cashew butter to suit different taste profiles. You can also experiment with dark chocolate for a twist that stays authentic but fresh. Check out REESE’S Peanut Butter and Chocolate Candy | HERSHEY’S for inspiration.
A5: It’s key. Slow melting in short bursts with stirring prevents burning, keeping your flavors smooth and silky. I’ve learned that patience here is a real kitchen victory.
A6: Yes! For quick access, stores often stock treats like REESE’S Minis Chocolate King Size Peanut Butter Cups, 2.5 oz bag. They’re a handy backup but homemade wins every time for authentic flavor.
A7: For straightforward inspiration, the 3-Ingredient Homemade Peanut Butter Cups : r/recipes thread has some great approaches, plus you can browse homemade touches at JustFlowe’s Homemade Soft Peanut Butter Cookies as well.
Final Kitchen Wisdom:
This Reeses Peanut Butter Cups recipe fits perfectly with my family’s desire for meals that feel authentic and satisfying without fussing over ingredients or technique. Here are My Reeses Peanut Butter Cups Flavor Secrets that keep our family coming back for more:
- Use natural peanut butter with just a hint of salt for that mouthwatering balance
- Add real vanilla extract to deepen the flavor profile beyond simple sweetness
- Take your time melting chocolate gently—it’s the foundation of that smooth texture
I also like to make a few variations: classic semi-sweet chocolate for everyday treats, milk chocolate for mild sweetness lovers, and a dark chocolate version for those who prefer deeper flavors. My kids tend toward the classic sweet, while my spouse delights in the dark chocolate twist.
Your kitchen, your flavor! I hope your family finds their version of this Reeses Peanut Butter Cups recipe that brings joyful moments and authentic tastes to your table. Remember, making these treats is a flavor-building journey worth every minute and a delicious way to show love.
For more genuine cooking ideas for family meals, explore my favorite no-bake chocolate peanut butter pie and keep spreading that homemade flavor joy. Happy cooking, fellow flavor seekers!
Reeses Peanut Butter Cups

Homemade Reeses Peanut Butter Cups combine rich chocolate with creamy peanut butter for a decadent and easy-to-make treat perfect for dessert or snacking.
- Prep Time: 10 minutes
- Cook Time: 10 minutes
- Total Time: 40 minutes
- Yield: 12 servings
- Category: Dessert
- Method: No-Cook
- Cuisine: American
Ingredients
- 1 cup creamy peanut butter
- 1/4 cup unsalted butter, softened
- 1/4 cup powdered sugar
- 2 cups milk chocolate chips
- 1 tablespoon vegetable oil
- Pinch of salt
Instructions
- Line a mini muffin tin with paper liners.
- In a bowl, mix together peanut butter, softened butter, powdered sugar, and salt until smooth.
- Melt the chocolate chips and vegetable oil together in a microwave-safe bowl in 30-second intervals, stirring until smooth.
- Pour a small layer of melted chocolate into each paper liner and spread evenly.
- Place in the freezer for 5 minutes to set.
- Spoon a dollop of the peanut butter mixture onto the chocolate layer in each cup.
- Cover the peanut butter layer with more melted chocolate to seal the cups.
- Freeze for at least 30 minutes or until firm.
- Remove from liners and enjoy chilled or at room temperature.
Notes
For an extra crunch, sprinkle a few chopped roasted peanuts on top before the final chocolate layer sets.