Okay, here we go! I’m excited to share this spooktacular recipe with you!
I remember the first time I attempted a Halloween dessert. I wanted something that captured the spirit of the season but without spending hours in the kitchen. My kids were buzzing with excitement about their costumes, and the last thing I wanted was to miss out on the fun. That’s when I stumbled upon the idea of a Halloween No-Bake Icebox Cake. It seemed simple enough, and the results were incredible!
The best part? It brought everyone together. My daughter helped layer the cookies, my son sprinkled the candy, and my husband offered his expert taste-testing skills. It wasn’t just about the cake; it was about the shared laughter and the joy of creating something special as a family. This Halloween No-Bake Icebox Cake became a tradition, and I can’t wait to share the magic with you.
For all you fellow flavor seekers looking for a simple, delicious, and genuinely fun dessert, this *Halloween No-Bake Icebox Cake* is your answer. Let’s get started!
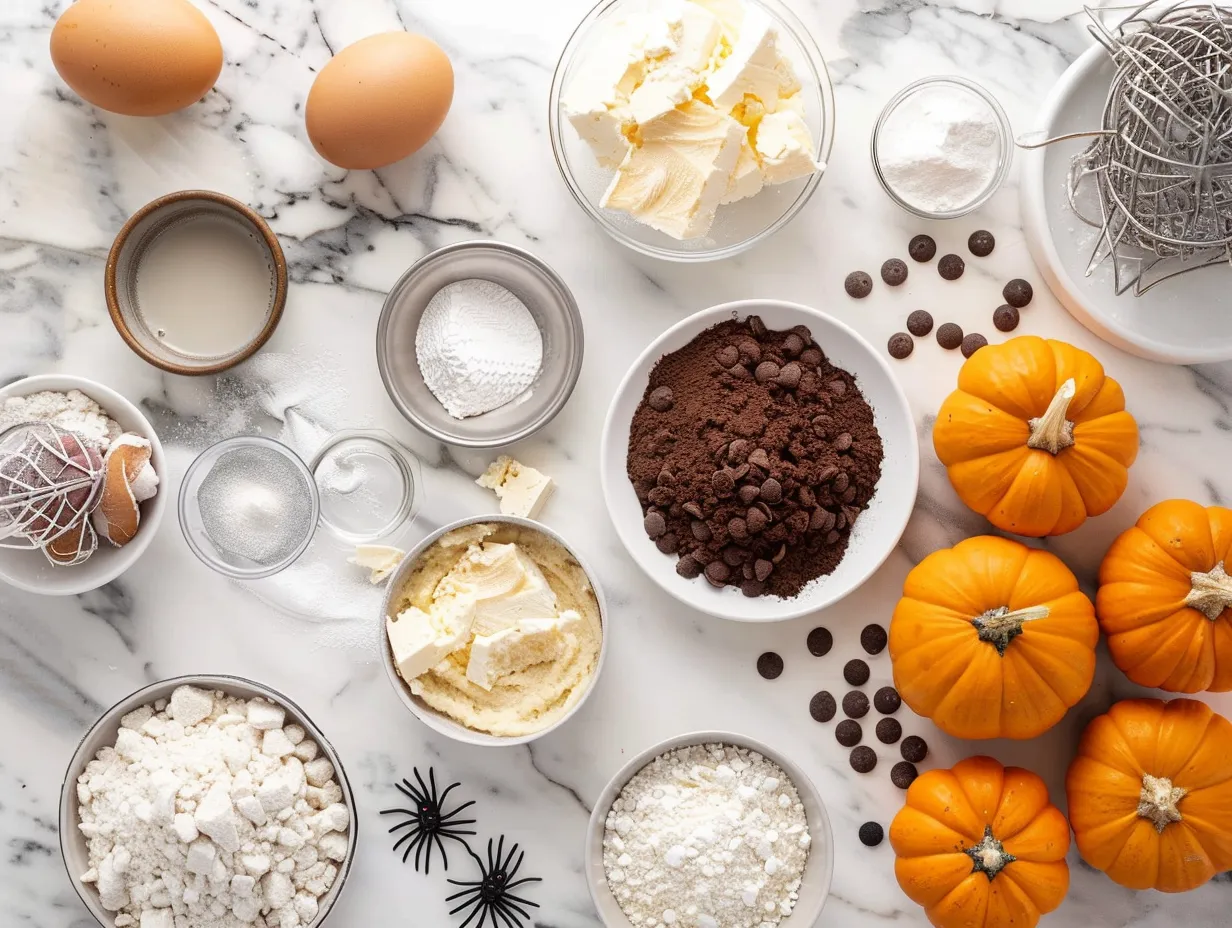
INGREDIENTS You’ll Need:
Here’s what you’ll need to whip up this spooky and delicious Halloween No-Bake Icebox Cake:
- 1 (15 ounce) package of chocolate sandwich cookies: I prefer using a classic brand for that nostalgic flavor!
- 1 (8 ounce) package of cream cheese, softened: Quality cream cheese makes a difference.
- 1 (14 ounce) can of sweetened condensed milk: This adds sweetness and creaminess to our filling.
- 1 teaspoon vanilla extract: A touch of vanilla rounds out the flavors beautifully.
- 1 (12 ounce) container of whipped topping, thawed: This adds lightness and airiness to the Halloween No-Bake Icebox Cake.
- Orange and black sprinkles: For that essential Halloween spooky flair!
- Gummy worms and candy corn: To decorate and add extra Halloween fun to your spooky icebox cake.
- Chocolate syrup (optional): For drizzling on top, adding an extra layer of chocolatey goodness.
- Candy Eyeballs (optional): Add these creepy delights to create a spooky icebox cake that everyone will love!
For the best flavor in your Halloween No-Bake Icebox Cake, I recommend sourcing high-quality cream cheese. This *Halloween No-Bake Icebox Cake* proves that authentic flavor comes from thoughtful ingredient choices. Trust me, this ingredient list focuses on quality over quantity for authentic flavors! You’ll find the freshest ingredients for this *Halloween No-Bake Icebox Cake* at your local grocery store, or even better, a farmer’s market!
Let’s Create This Together!
This recipe for a spooky icebox cake is so simple, and you will have a blast making it. Here’s how to bring this Halloween No-Bake Icebox Cake to life:
- Prepare the cookies: In a large bowl, crush about half of the chocolate sandwich cookies into coarse crumbs. You can use a food processor for this, but I prefer doing it by hand for a more rustic texture. Set aside the remaining whole cookies for layering.
- Make the filling: In a large mixing bowl, beat the softened cream cheese until smooth and creamy. Add the sweetened condensed milk and vanilla extract. Beat until well combined. Gently fold in the thawed whipped topping. This **Halloween No-Bake Icebox Cake** depends on a light and airy filling!
- Layer the cake: In a 9×13 inch dish, spread a thin layer of the cream cheese mixture. Arrange a layer of whole chocolate sandwich cookies over the cream cheese. This is where the magic of an easy Halloween cake starts.
- Add another layer of filling: Spread another layer of the cream cheese mixture over the cookies. Sprinkle some of the crushed cookie crumbs over the cream cheese.
- Repeat layers: Repeat layers of cookies, cream cheese mixture, and crushed cookie crumbs until all ingredients are used, ending with a layer of cream cheese mixture.
- Decorate: Decorate the top of the Halloween No-Bake Icebox Cake with orange and black sprinkles, gummy worms, candy corn, and candy eyes. Get creative and have fun with it!
- Chill: Cover the dish with plastic wrap and refrigerate for at least 4 hours, or preferably overnight. This allows the cookies to soften and the flavors to meld together, creating the perfect spooky icebox cake. This flavorful *Halloween No-Bake Icebox Cake* typically takes about 4 hours to set in my kitchen!
- Serve and enjoy: Before serving, drizzle with chocolate syrup if desired. Cut into squares and serve cold. Watch your family’s faces light up when they taste this spooky icebox cake!
While your *Halloween No-Bake Icebox Cake* is chilling, take a moment to appreciate creating something special for your family! Perfect time to appreciate the aromatic transformation! Here’s where I used to miss a key step with my *Halloween No-Bake Icebox Cake* – learn from my experience! Don’t be surprised if your *Halloween No-Bake Icebox Cake* develops a slightly softer texture as it chills.
How We Love to Enjoy This!
This Halloween No-Bake Icebox Cake is a hit at our Halloween parties! The kids love the spooky decorations, and the adults appreciate the easy preparation. I usually serve it with a side of hot chocolate for a complete Halloween treat.
This *Halloween No-Bake Icebox Cake* is perfect for those evenings when we want something truly satisfying! The family gathers quickly when this aromatic **Halloween No-Bake Icebox Cake** appears with a scary movie! We often pair it with a big bowl of popcorn for the ultimate movie night treat.
For a fun twist, try making individual servings in small mason jars. It’s a great way to control portions and makes for a cute presentation. I also like to add a layer of crushed Oreos with green food coloring to mimic dirt for a “dirt cake” effect. Check out No Bake Halloween Dirt Cake – Liv’s Little Muffins for inspiration!
Leftovers (if there are any!) are delicious crumbled over ice cream or blended into a milkshake. Nothing goes to waste in my kitchen! You can also try freezing individual slices for a quick and easy dessert anytime.
FAQs: Your Questions Answered
I’ve gathered some common questions about this spooky icebox cake, and I’m here to share my wisdom!
Q: Can I use different types of cookies for this Halloween No-Bake Icebox Cake?
A: Absolutely! Chocolate sandwich cookies are classic, but you can experiment with graham crackers, vanilla wafers, or even chocolate chip cookies. Just adjust the sweetness of the filling accordingly.
Q: What if I don’t have sweetened condensed milk?
A: Sweetened condensed milk is key for the creamy texture, but you can try substituting it with a mixture of heavy cream and sugar. Just be sure to whisk it well until the sugar is dissolved.
Q: How can I make this Halloween No-Bake Icebox Cake less sweet?
A: Reduce the amount of sweetened condensed milk or use a less sweet whipped topping. You can also add a pinch of salt to the cream cheese mixture to balance the sweetness.
Q: Does this Halloween No-Bake Icebox Cake really satisfy hearty appetites?
A: Yes, it does! The combination of cookies, cream cheese filling, and whipped topping is surprisingly filling. A small slice is usually enough to satisfy most appetites.
Q: What if someone in my family prefers milder flavors in their Halloween No-Bake Icebox Cake?
A: Omit the chocolate syrup and use vanilla wafers instead of chocolate cookies. You can also add a layer of fresh fruit, such as sliced bananas or strawberries.
Q: How can I prepare this Halloween No-Bake Icebox Cake ahead for busy weeks?
A: This is the perfect make-ahead dessert! It actually tastes better after sitting in the refrigerator for a day or two, as the flavors have time to meld together.
Q: Can I freeze this Halloween No-Bake Icebox Cake?
A: Yes, you can freeze it for up to a month. Wrap it tightly in plastic wrap and then in foil. Thaw in the refrigerator overnight before serving. Easy No Bake Spooky Icebox Cake Recipe, has some great make ahead tips as well.
Final Kitchen Wisdom:
This Halloween No-Bake Icebox Cake is more than just a dessert; it’s a way to create lasting memories with your family. It’s about the joy of cooking together, the laughter shared, and the delicious flavors that bring everyone closer.
My Halloween No-Bake Icebox Cake Flavor Secrets:
- Quality Ingredients: Using the best quality cream cheese and chocolate sandwich cookies makes a world of difference.
- Don’t Overmix: Gently fold in the whipped topping to keep the filling light and airy.
- Chill Time: Allowing the cake to chill for at least 4 hours, or preferably overnight, is crucial for the best flavor and texture.
Family-Tested Variations:
- Peanut Butter Cup: Add a layer of chopped peanut butter cups for a chocolate-peanut butter explosion. My son loves this version!
- Mint Chocolate: Use mint-flavored chocolate sandwich cookies and a few drops of peppermint extract in the filling. My daughter adores this one!
- Cookies and Cream: Add a layer of crushed Oreo cookies mixed with whipped cream. My husband is a huge fan!
I hope this Halloween No-Bake Icebox Cake brings as much joy to your family as it has to mine. This Halloween No-Bake Icebox Cake reminds me of Halloween Swirl Oreo Cream Cheese Brownies, another family favorite. Don’t be afraid to experiment and make it your own signature version. Happy cooking, fellow flavor seekers!
Remember, the key to a successful Halloween No-Bake Icebox Cake is love, patience, and a generous sprinkle of spooky fun. Happy Halloween! You can also check out Halloween Icebox Cake – Lemon Blossoms for more ideas.
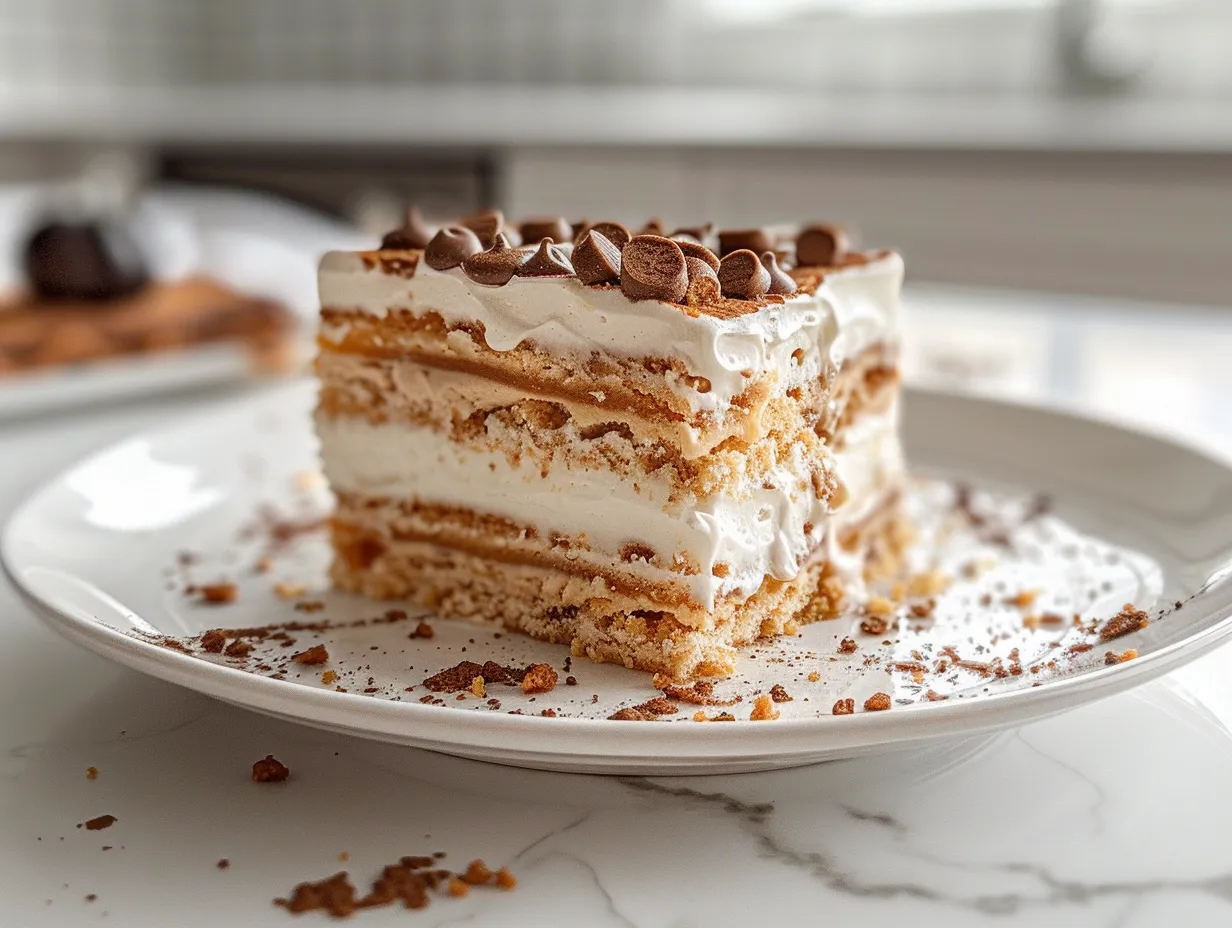
Halloween No-Bake Icebox Cake
This easy Halloween No-Bake Icebox Cake is a spooky and delicious treat! Layers of chocolate wafers, whipped cream, and candy corn create a festive dessert with minimal effort.
- Prep Time: 20 minutes
- Cook Time: 0 minutes
- Total Time: 20 minutes
- Yield: 12 servings
- Category: Dessert
- Method: No-Cook
- Cuisine: American
Ingredients
- 1 (16 ounce) package chocolate wafer cookies
- 8 ounces cream cheese, softened
- 1 cup powdered sugar
- 1 teaspoon vanilla extract
- 4 cups heavy whipping cream
- 1/2 cup candy corn, plus more for topping
- Halloween sprinkles, for topping
Instructions
- In a large bowl, beat the cream cheese, powdered sugar, and vanilla extract until smooth and creamy.
- In a separate bowl, whip the heavy whipping cream until stiff peaks form.
- Gently fold the whipped cream into the cream cheese mixture until well combined.
- In a 9×13 inch baking dish, spread a thin layer of the cream mixture on the bottom.
- Arrange a layer of chocolate wafer cookies over the cream mixture.
- Spread another layer of the cream mixture over the cookies. Sprinkle with candy corn.
- Repeat layers of cookies and cream mixture, ending with a layer of cream.
- Top with additional candy corn and Halloween sprinkles.
- Cover and refrigerate for at least 4 hours, or preferably overnight, to allow the cookies to soften.
- Slice and serve.
Notes
For an extra touch, drizzle melted chocolate over the top of the cake before refrigerating.