Okay, here we go! Let’s dive into making some spooky and delicious Halloween Crinkle Cookies!
I remember when I first tried making these cookies. It was a complete kitchen adventure! My family was so excited about Halloween, and I wanted to create something special that we could all enjoy together.
The first batch? A bit of a disaster. They spread too thin, and the crinkles weren’t quite right. But I’m not one to give up easily, especially when it comes to creating something delicious for my family.
I tweaked the recipe, experimented with different cocoa powders, and finally, I nailed it. The Halloween Crinkle Cookies that emerged from the oven were perfect. Soft, chewy, and with that beautiful, cracked surface that makes them so irresistible.
These cookies aren’t just a treat; they’re a way to bring my family together. There’s something magical about baking together, filling the kitchen with the aroma of chocolate and spice, and creating memories that last a lifetime.
For me, Halloween Crinkle Cookies are more than a dessert. They’re a symbol of the joy and connection that comes from sharing good food with the people I love. That’s why I’m so excited to share this recipe with you. It’s not just about following steps. It’s about creating something that will bring smiles to your family’s faces.
So, fellow flavor seekers, if you’re looking for a way to add a touch of spooky fun to your Halloween celebrations, these cookies are it. Join me in the kitchen, and let’s create some magic together!
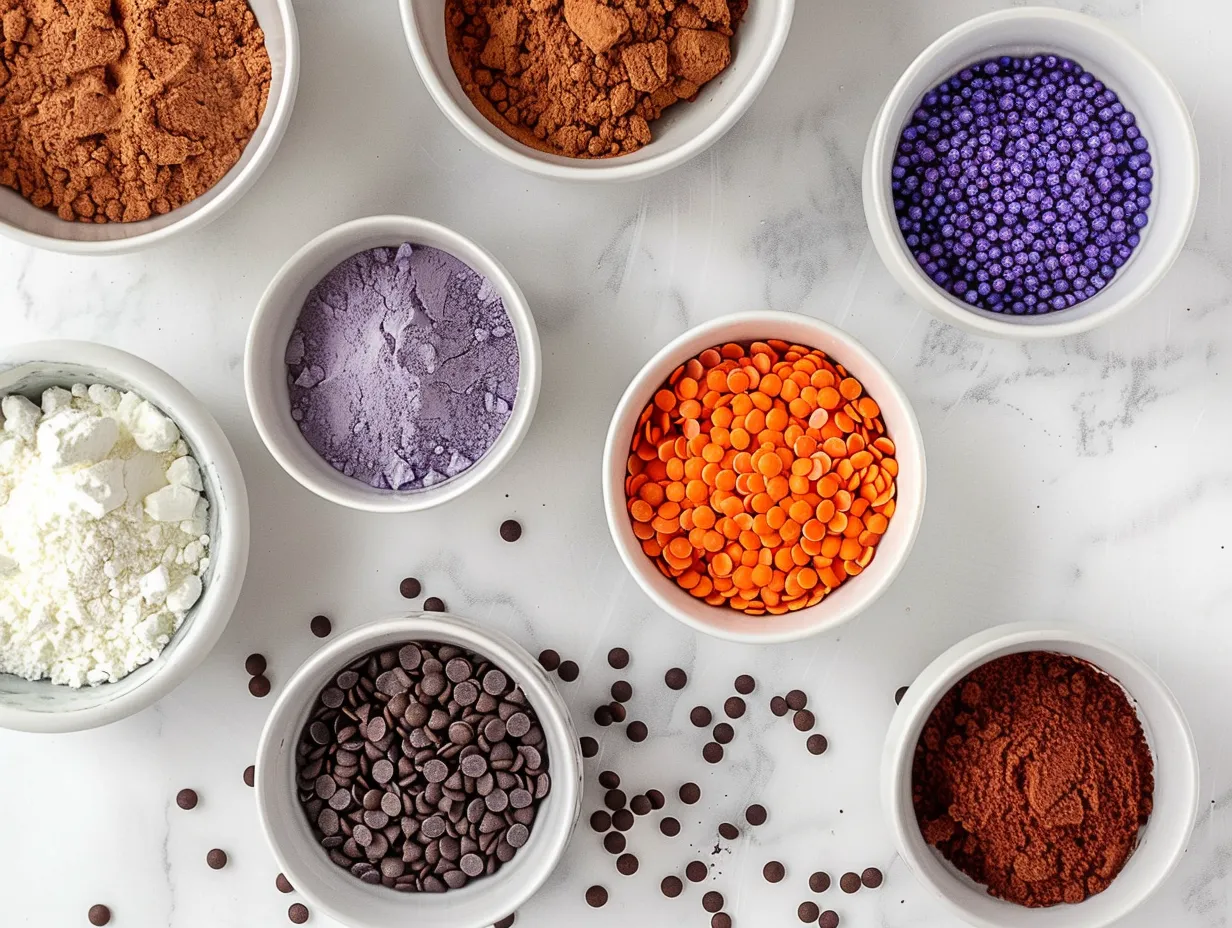
INGREDIENTS You’ll Need:
Here’s what you’ll need to whip up a batch of these delightful Halloween Crinkle Cookies:
- 1 cup (2 sticks) unsalted butter, softened: Using high-quality butter makes all the difference in the richness and flavor of these cookies. I prefer using European-style butter for its higher fat content.
- 1 ½ cups granulated sugar: This provides the perfect amount of sweetness and helps create that classic crinkle texture.
- 2 large eggs: These bind the ingredients together and add moisture to the cookies.
- 1 teaspoon vanilla extract: A good quality vanilla extract enhances the chocolate flavor. Don’t skimp on this!
- 2 cups all-purpose flour: This provides the structure for the cookies. Make sure to measure it accurately for the best results.
- ¾ cup unsweetened cocoa powder: I recommend using Dutch-processed cocoa powder for a deeper, richer chocolate flavor.
- 2 teaspoons baking powder: This helps the cookies rise and creates those beautiful cracks on top.
- ½ teaspoon salt: This balances the sweetness and enhances the other flavors.
- ½ cup powdered sugar, for coating: This is what creates the signature crinkled look. Make sure to coat the cookies generously before baking.
You’ll find the freshest ingredients for this Halloween Crinkle Cookies at your local farmer’s market or specialty grocery store.
Trust me, this Halloween Crinkle Cookies ingredient list focuses on quality over quantity for authentic flavors!
My family loves when I add a pinch of espresso powder to our Halloween Crinkle Cookies. It deepens the chocolate flavor and adds a subtle kick. This Halloween Crinkle Cookies proves that authentic flavor comes from thoughtful ingredient choices and a little extra touch of love.
Let’s Create This Together!
Ready to get started? Here’s how to make these delicious Halloween Crinkle Cookies step by step:
- Cream the Butter and Sugar: In a large bowl, cream together the softened butter and granulated sugar until light and fluffy. This usually takes about 3-5 minutes with an electric mixer. Make sure to scrape down the sides of the bowl to ensure everything is well combined.
- Add Eggs and Vanilla: Beat in the eggs one at a time, then stir in the vanilla extract. This step is crucial for incorporating air into the batter, which helps with the texture of the cookies.
- Combine Dry Ingredients: In a separate bowl, whisk together the flour, cocoa powder, baking powder, and salt. This ensures that the dry ingredients are evenly distributed.
- Gradually Add Dry Ingredients to Wet Ingredients: Slowly add the dry ingredients to the wet ingredients, mixing until just combined. Be careful not to overmix, as this can result in tough cookies.
- Chill the Dough: Cover the dough with plastic wrap and refrigerate for at least 2 hours, or preferably overnight. This is a crucial step, as it allows the flavors to meld together and prevents the cookies from spreading too much during baking. In my kitchen, this flavorful Halloween Crinkle Cookies dough chilling typically takes about 4 hours for optimal results.
- Preheat Oven and Prepare Baking Sheet: Preheat your oven to 350°F (175°C). Line a baking sheet with parchment paper.
- Shape the Dough: Roll the chilled dough into 1-inch balls. Here’s where I used to miss a key step with my Halloween Crinkle Cookies – learn from my experience! Make sure the dough is thoroughly chilled, or it will be difficult to work with.
- Coat in Powdered Sugar: Generously roll each ball in powdered sugar, ensuring it’s completely coated. The thicker the coating, the more dramatic the crinkles will be. Your Halloween Crinkle Cookies should be looking delightfully spooky by now!
- Bake: Place the coated dough balls on the prepared baking sheet, leaving about 2 inches between each cookie. Bake for 10-12 minutes, or until the edges are set and the tops are cracked. Perfect time to appreciate the aromatic transformation!
- Cool: Let the cookies cool on the baking sheet for a few minutes before transferring them to a wire rack to cool completely. Don’t be surprised if your Halloween Crinkle Cookies develops even more cracks as it cools.
While your Halloween Crinkle Cookies is developing these flavors, take a moment to appreciate creating something special for your family!
How We Love to Enjoy This!
These Halloween Crinkle Cookies are incredibly versatile and can be enjoyed in so many ways. Here are a few of my family’s favorites:
- With a Glass of Milk: This is the classic pairing for a reason. The rich, chocolatey flavor of the cookies complements the creamy, refreshing taste of milk perfectly.
- As Part of a Halloween Dessert Platter: Include these cookies on a dessert platter with other Halloween treats like brownies and candies. For more genuine cooking ideas for family meals, explore Halloween Swirl Oreo Cream Cheese Brownies and Halloween No-Bake Icebox Cake.
- In Ice Cream Sandwiches: Sandwich a scoop of vanilla or chocolate ice cream between two cookies for a decadent treat. The family gathers quickly when this aromatic Halloween Crinkle Cookies appears with ice cream!
- As a Gift: Package these cookies in a festive box or bag and give them as a homemade gift to friends and neighbors.
- With Coffee or Tea: The deep chocolate flavor of these cookies pairs beautifully with a warm cup of coffee or tea. This Halloween Crinkle Cookies is perfect for those evenings when we want something truly satisfying!
- Leftover Transformation: Crumble the cookies over yogurt or ice cream for a delicious topping.
For a spooky twist, try adding a few drops of red food coloring to the powdered sugar before coating the cookies. This will give them a slightly eerie appearance. If your family loves these authentic flavors, they’ll appreciate these Halloween Oreo Bark.
FAQs: Your Questions Answered
Here are some common questions I’ve received about making Halloween Crinkle Cookies:
Q: Can I use regular cocoa powder instead of Dutch-processed?
A: Yes, you can, but the flavor will be slightly different. Dutch-processed cocoa powder is less acidic and has a richer, more chocolatey flavor. Regular cocoa powder will still work, but you may want to add a pinch more to get the same depth of flavor.
Q: Why did my cookies spread too thin?
A: This can happen if the dough wasn’t chilled long enough, or if your oven temperature is too low. Make sure to chill the dough for at least 2 hours, and use an oven thermometer to ensure your oven is at the correct temperature.
Q: Can I make the dough ahead of time?
A: Absolutely! The dough can be made up to 2 days in advance and stored in the refrigerator. In fact, chilling the dough overnight can actually improve the flavor and texture of the cookies. How can I prepare this Halloween Crinkle Cookies ahead for busy weeks? Prepare the dough 48 hours prior!
Q: Can I freeze the cookies?
A: Yes, you can freeze both the dough and the baked cookies. To freeze the dough, shape it into balls, coat them in powdered sugar, and then freeze them on a baking sheet. Once frozen, transfer them to a freezer bag. To bake, simply bake from frozen, adding a few extra minutes to the baking time.
Q: What if someone in my family prefers milder flavors in their Halloween Crinkle Cookies?
A: If someone prefers a milder flavor, you can reduce the amount of cocoa powder slightly or add a touch more vanilla extract. You can also use milk chocolate chips instead of dark chocolate in the dough.
Q: Does this Halloween Crinkle Cookies really satisfy hearty appetites?
A: Absolutely! These cookies are rich, decadent, and incredibly satisfying. The combination of chocolate and sweetness is sure to please even the heartiest appetites.
Q: Can I add chocolate chips to the dough?
A: Definitely! Chocolate chips are a great addition to these cookies. I recommend using semi-sweet or dark chocolate chips for the best flavor. For an extra spooky touch, consider adding some Halloween-themed sprinkles or candies. For an Halloween twist, explore Easy Halloween Cookie – The Anthony Kitchen.
Final Kitchen Wisdom:
These Halloween Crinkle Cookies are a testament to the joy of baking and sharing homemade treats with loved ones. They perfectly support my family’s authentic meal goals by providing a delicious, comforting, and fun way to celebrate special occasions.
My Halloween Crinkle Cookies Flavor Secrets:
- Quality Cocoa: Using Dutch-processed cocoa powder makes a huge difference in the flavor of the cookies.
- Chilling is Key: Don’t skip the chilling step! It’s essential for preventing the cookies from spreading too much and for developing the signature crinkle texture.
- Generous Coating: Make sure to coat the cookies generously in powdered sugar for the best results.
Family-Tested Halloween Crinkle Cookies Variations:
- Peppermint Crinkle Cookies: Add a teaspoon of peppermint extract to the dough for a festive holiday twist. My son loves this variation!
- Red Velvet Crinkle Cookies: Use red food coloring and a touch of white vinegar in the dough for a red velvet version. For more Halloween recipe, visit Bloodshot Eyeball Red Velvet Crinkle Cookies – Yummi Haus.
- Espresso Crinkle Cookies: Add a tablespoon of espresso powder to the dough for a mocha flavor. My husband prefers this one!
I hope these tips and variations inspire you to make these cookies your own and create a signature version that your family will love.
Remember, fellow flavor seekers, the most important ingredient in any recipe is love. Bake with joy, share with kindness, and enjoy every delicious moment. You’ve got this!
I can’t wait to hear about your flavor victories with these Halloween Crinkle Cookies!
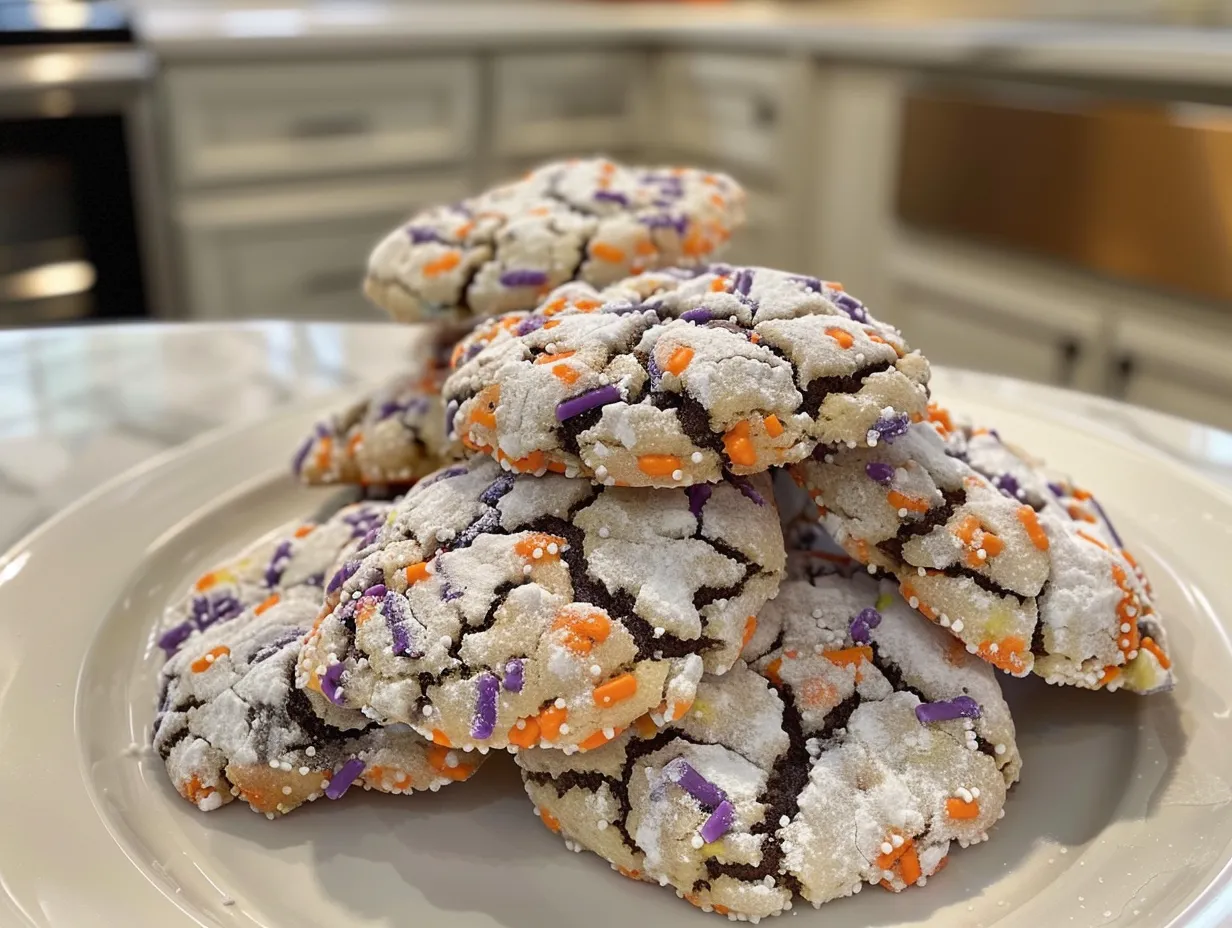
Halloween Crinkle Cookies

These spooky Halloween Crinkle Cookies are soft, chewy, and covered in a generous dusting of powdered sugar, creating a crackled, festive appearance. Perfect for parties or a fun baking activity with the kids!
- Prep Time: 20 minutes
- Cook Time: 12 minutes
- Total Time: 2 hours 32 minutes
- Yield: 24 cookies
- Category: Dessert
- Method: Baked
- Cuisine: American
Ingredients
- 1 cup (2 sticks) unsalted butter, softened
- 1 1/2 cups granulated sugar
- 2 large eggs
- 1 teaspoon vanilla extract
- 2 1/2 cups all-purpose flour
- 1/2 cup unsweetened cocoa powder
- 2 teaspoons baking powder
- 1/4 teaspoon salt
- 1/2 cup powdered sugar, for rolling
- Orange and black sprinkles (optional)
Instructions
- In a large bowl, cream together the softened butter and granulated sugar until light and fluffy.
- Beat in the eggs one at a time, then stir in the vanilla extract.
- In a separate bowl, whisk together the flour, cocoa powder, baking powder, and salt.
- Gradually add the dry ingredients to the wet ingredients, mixing until just combined. Do not overmix.
- Cover the dough and chill in the refrigerator for at least 2 hours (or up to overnight).
- Preheat oven to 350°F (175°C). Line baking sheets with parchment paper.
- Roll the dough into 1-inch balls.
- Roll each ball in powdered sugar, ensuring it’s fully coated. You can also roll in orange and black sprinkles if using.
- Place the cookies on the prepared baking sheets, leaving some space between each cookie.
- Bake for 10-12 minutes, or until the edges are set and the centers are slightly soft.
- Let the cookies cool on the baking sheets for a few minutes before transferring them to a wire rack to cool completely.
Notes
For a richer chocolate flavor, use dark cocoa powder. Store cookies in an airtight container at room temperature for up to 3 days.