Hello there, fellow flavor seekers! Savannah Rose here, from JustFlowe Blog. Gather ’round, because today we’re diving headfirst into a delightful treat that’s become a cherished part of our family gatherings: No-Bake Cool Whip Candy.
I remember the first time I whipped up a batch of this. It was during a particularly hectic holiday season, and I needed a quick, fuss-free dessert that would still bring smiles to everyone’s faces. That’s when I stumbled upon the magic of No-Bake Cool Whip Candy, and it’s been a family favorite ever since!
What I adore most about this No-Bake Cool Whip Candy is how incredibly simple it is. With just a handful of ingredients and minimal effort, you can create a creamy, dreamy confection that’s perfect for satisfying sweet cravings or sharing with loved ones.
This isn’t just any dessert; it’s a way to connect with your family through the joy of simple, homemade goodness. Plus, it’s a fantastic way to get the kids involved in the kitchen. I want to invite you, fellow home cooks, to join me on this flavorful adventure, where we’ll create something truly special together, one delicious bite at a time. 🌿✨
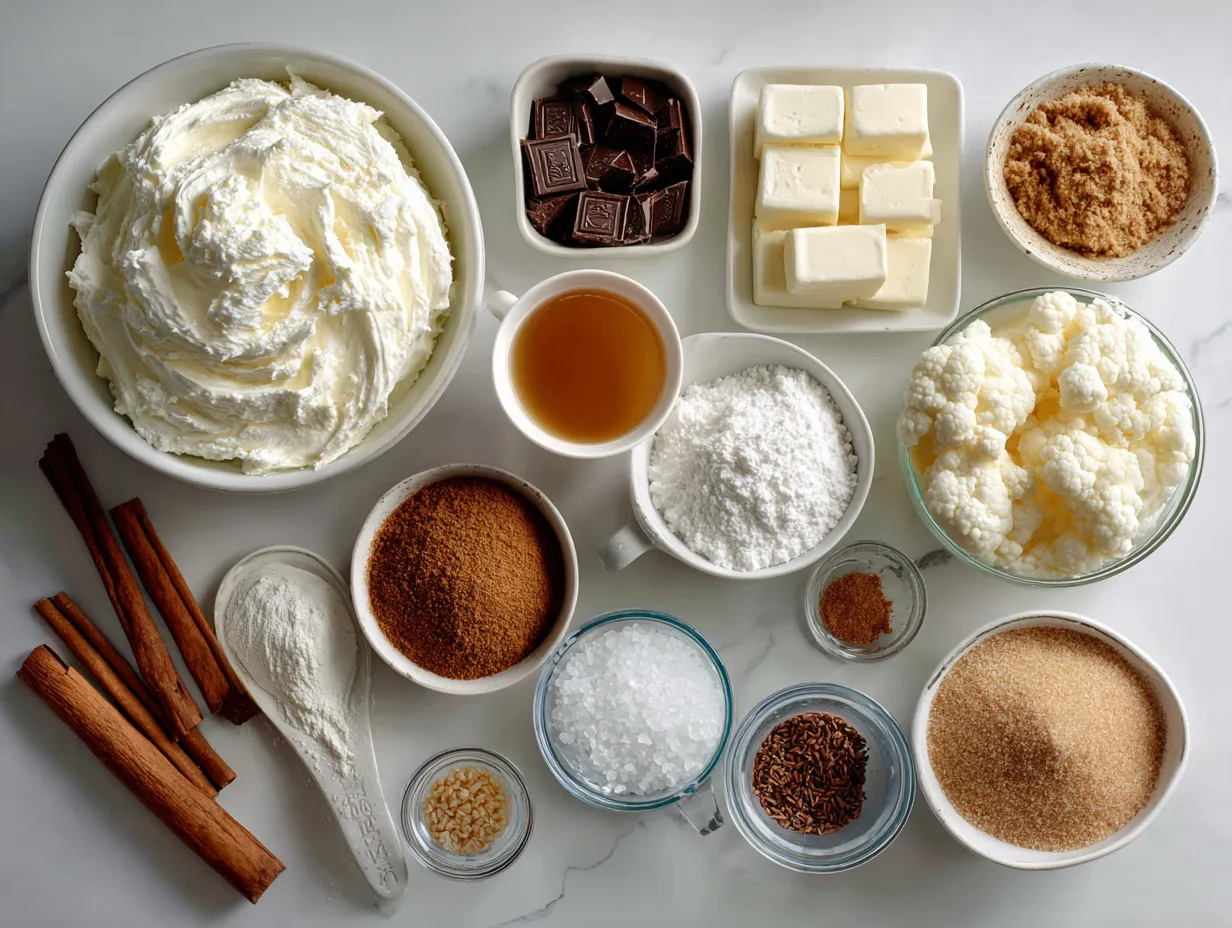
INGREDIENTS You’ll Need:
Here’s what you’ll need to create this delightful confection. Trust me, this No-Bake Cool Whip Candy ingredient list focuses on quality over quantity for authentic flavors!
- 1 (8 ounce) container of Cool Whip, thawed: The base of our creamy dream. For the best flavor in your No-Bake Cool Whip Candy, I recommend using the original Cool Whip for that classic taste.
- 1 (14 ounce) can of sweetened condensed milk: This adds sweetness and helps bind the candy together. This No-Bake Cool Whip Candy proves that authentic flavor comes from thoughtful ingredient choices.
- 1 teaspoon vanilla extract: A touch of vanilla enhances all the other flavors. I love using pure vanilla extract for the most intense flavor in our No-Bake Cool Whip Candy.
- 1/2 cup powdered sugar: This adds sweetness and helps create a smooth texture. You’ll find the freshest ingredients for this No-Bake Cool Whip Candy at your local grocery store.
- 1 cup of your favorite candy bars, chopped: This is where you can get creative! My family loves when I add this extra touch to our No-Bake Cool Whip Candy…. more chocolate!
These ingredients are simple, accessible, and when combined, create a symphony of flavors that will have everyone asking for more. The key is to use high-quality ingredients to ensure the best possible taste.
Let’s Create This Together!
Now, let’s get to the fun part – making the No-Bake Cool Whip Candy! Here’s where I used to miss a key step with my No-Bake Cool Whip Candy – learn from my experience! Follow these simple steps, and you’ll be enjoying this creamy treat in no time:
- Prepare Your Ingredients: Begin by thawing your Cool Whip completely. This ensures it will blend smoothly with the other ingredients. In my kitchen, this flavorful No-Bake Cool Whip Candy typically takes about 20 minutes to thaw properly on the counter.
- Combine Cool Whip and Sweetened Condensed Milk: In a large bowl, gently fold together the thawed Cool Whip and sweetened condensed milk. Be careful not to overmix; we want to keep the Cool Whip light and airy. Perfect time to appreciate the creamy texture!
- Add Vanilla Extract and Powdered Sugar: Stir in the vanilla extract and powdered sugar until everything is well combined. Your No-Bake Cool Whip Candy should fill the kitchen with amazing aromas by now. Don’t be surprised if your No-Bake Cool Whip Candy develops a slightly thicker consistency as you mix.
- Fold in the Candy Bars: Gently fold in your chopped candy bars. Distribute them evenly throughout the mixture. This step is where you can really customize the candy to your family’s preferences.
- Transfer to a Pan: Line an 8×8 inch baking pan with parchment paper. Pour the mixture into the pan and spread it evenly. Family-tested techniques make this step a breeze.
- Chill: Cover the pan with plastic wrap and refrigerate for at least 4 hours, or preferably overnight. This allows the candy to set and the flavors to meld together beautifully. While your No-Bake Cool Whip Candy is developing these flavors, take a moment to appreciate creating something special for your family!
- Cut and Serve: Once the candy is firm, lift it out of the pan using the parchment paper. Cut it into squares and serve. Enjoy your No-Bake Cool Whip Candy with loved ones!
These steps are designed to be easy and enjoyable. Remember, cooking is a journey, so don’t be afraid to experiment and make it your own. With a little patience and a lot of love, you’ll create a No-Bake Cool Whip Candy that your family will cherish.
How We Love to Enjoy This!
This No-Bake Cool Whip Candy is incredibly versatile, and there are countless ways to enjoy it. The family gathers quickly when this aromatic No-Bake Cool Whip Candy appears with a glass of cold milk or a warm cup of coffee.
- As a Dessert: Serve it as a simple yet satisfying dessert after a family meal.
- At Gatherings: It’s perfect for potlucks, parties, and holiday celebrations.
- With Coffee or Tea: The creamy sweetness pairs wonderfully with a hot beverage.
- As a Gift: Package it in a decorative tin or box and give it as a homemade gift. This flavorful No-Bake Cool Whip Candy reminds me of another family favorite, No-Bake Halloween Icebox Cake which is another quick and easy dessert that’s always a hit!
- Seasonal Variations: During the holidays, try adding crushed peppermint candies or gingerbread cookies for a festive twist. This No-Bake Cool Whip Candy is perfect for those evenings when we want something truly satisfying!
If your family loves these authentic flavors, they’ll appreciate this festive Candy Corn Poke Cake, a delightful and colorful dessert perfect for any celebration. Another creative way to use up leftovers is to crumble the candy over ice cream or mix it into a milkshake. The possibilities are endless!
FAQs: Your Questions Answered
Here are some common questions I get about making No-Bake Cool Whip Candy. I’m sharing kitchen wisdom with you, my fellow cook, so you can create this with ease.
Q: Can I use a different type of whipped topping?
A: While Cool Whip provides the classic flavor and texture, you can experiment with other whipped toppings. Keep in mind that the taste and consistency may vary. If your looking for substitutes for cool whip check out this article Substitutes for Cool Whip: What are your options?
Q: What kind of candy bars work best?
A: The beauty of this recipe is its versatility. You can use any candy bar you like! Some popular choices include Snickers, Reese’s Peanut Butter Cups, Milky Way, and Twix.
Q: Can I add nuts or other mix-ins?
A: Absolutely! Nuts, pretzels, dried fruit, and sprinkles are all great additions. Just fold them in along with the candy bars.
Q: How long does this candy last?
A: When stored in an airtight container in the refrigerator, this No-Bake Cool Whip Candy will last for up to a week. However, it’s usually devoured much sooner than that!
Q: Can I freeze this candy?
A: While you can freeze it, the texture may change slightly upon thawing. It might become a bit more watery. If you do freeze it, make sure to wrap it tightly to prevent freezer burn. Does this No-Bake Cool Whip Candy really satisfy hearty appetites? Yes, indeed! The creamy texture and sweet flavors are sure to please.
Q: What if someone in my family prefers milder flavors in their No-Bake Cool Whip Candy?
A: You can easily adjust the sweetness by reducing the amount of powdered sugar. Also, consider using candy bars with milder flavors, such as plain chocolate or vanilla cream.
Q: How can I prepare this No-Bake Cool Whip Candy ahead for busy weeks?
A: This candy is perfect for making ahead! It needs at least 4 hours to chill, so you can easily prepare it the day before you need it. Just keep it covered in the refrigerator until you’re ready to serve. For more genuine cooking ideas for family meals, explore No-Bake Halloween Cheesecake.
Remember, these are just guidelines. Feel free to experiment and adjust the recipe to suit your own taste preferences. Happy cooking! Check out this variation of this candy recipe with three musketeers. Cool Whip Candy {3 Musketeers}
Final Kitchen Wisdom:
This No-Bake Cool Whip Candy supports my family’s authentic meal goals by providing a simple, delicious treat that brings us together. It’s easy to make, customizable, and always a crowd-pleaser. Here’s another Cool Whip Candy Recipe with Three Musketeers Variation Cool Whip Candy Recipe with Three Musketeers Variation
My No-Bake Cool Whip Candy Flavor Secrets:
- Quality Ingredients: Using high-quality Cool Whip, sweetened condensed milk, and candy bars makes a big difference in the final taste.
- Gentle Mixing: Be careful not to overmix the ingredients, as this can cause the Cool Whip to deflate.
- Chill Time: Don’t rush the chilling process. The longer the candy chills, the firmer and more flavorful it will become.
Family-Tested No-Bake Cool Whip Candy Variations:
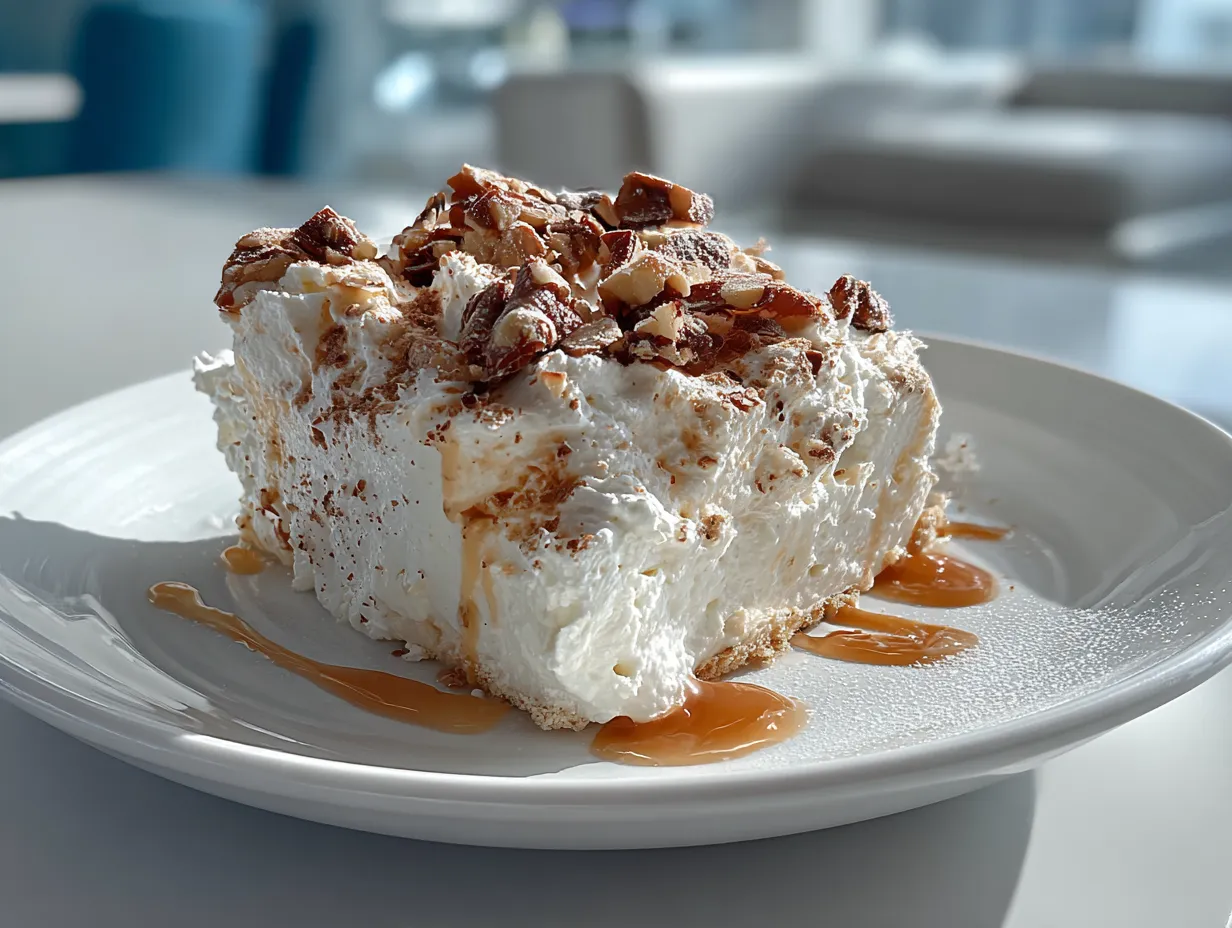
- Peanut Butter Lover’s: Use Reese’s Peanut Butter Cups and add a swirl of peanut butter to the mixture.
- Chocolate Caramel: Use Twix bars and drizzle caramel sauce over the top before chilling.
- Mint Chocolate: Use Andes Mints and a few drops of peppermint extract.
My son loves the Peanut Butter Lover’s version, while my daughter prefers the Mint Chocolate. I encourage you to make this recipe your own and create a signature version that your family will love. I hope this candy brings as much joy to your family as it has to mine. Happy cooking, and may your kitchen always be filled with delicious aromas and happy memories!
Creating satisfying No-Bake Cool Whip Candy will delight your family. 🌿✨
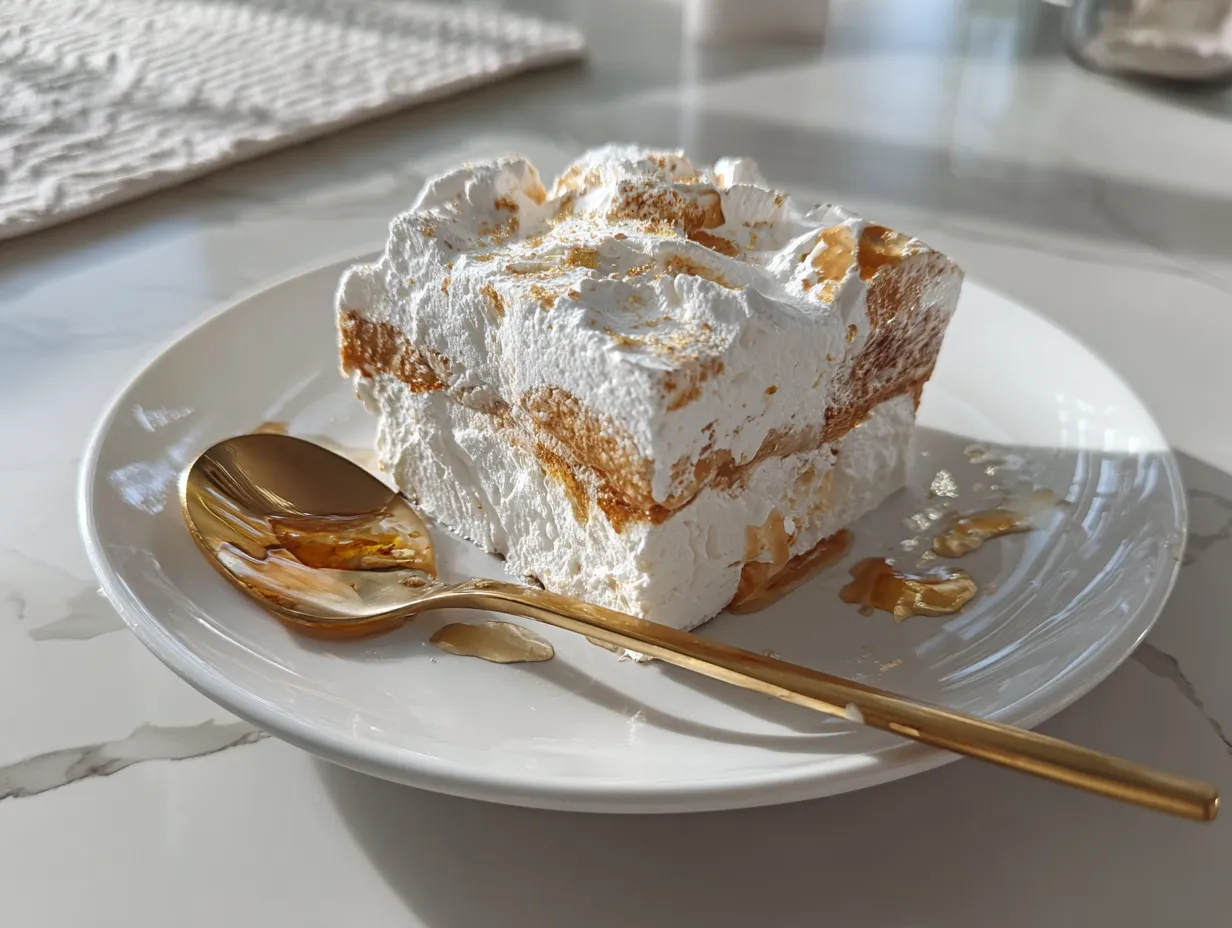
No-Bake Cool Whip Candy
This No-Bake Cool Whip Candy is a simple and delicious dessert that requires no oven! It’s light, fluffy, and perfect for satisfying your sweet tooth with minimal effort.
- Prep Time: 15 minutes
- Cook Time: 0 minutes
- Total Time: 15 minutes
- Yield: 16 servings
- Category: Dessert
- Method: No-Cook
- Cuisine: American
Ingredients
- 1 (8 ounce) package cream cheese, softened
- 1 (8 ounce) container Cool Whip, thawed
- 1 (14 ounce) can sweetened condensed milk
- 1 teaspoon vanilla extract
- 1/2 cup powdered sugar
- 1 cup graham cracker crumbs
- Optional: Chocolate shavings or sprinkles for topping
Instructions
- In a large bowl, beat the softened cream cheese until smooth and creamy.
- Gradually add the sweetened condensed milk and vanilla extract, mixing until well combined.
- Gently fold in the thawed Cool Whip and powdered sugar until everything is evenly mixed.
- In a separate bowl, prepare your base by sprinkling graham cracker crumbs into the bottom of a 9×13 inch pan.
- Pour the Cool Whip mixture over the graham cracker crumb base, spreading evenly.
- Cover the pan with plastic wrap and refrigerate for at least 4 hours, or preferably overnight, to allow the candy to set.
- Before serving, garnish with chocolate shavings or sprinkles, if desired.
- Cut into squares and enjoy!
Notes
For an extra layer of flavor, try adding a swirl of peanut butter or a layer of crushed Oreo cookies to the Cool Whip mixture.