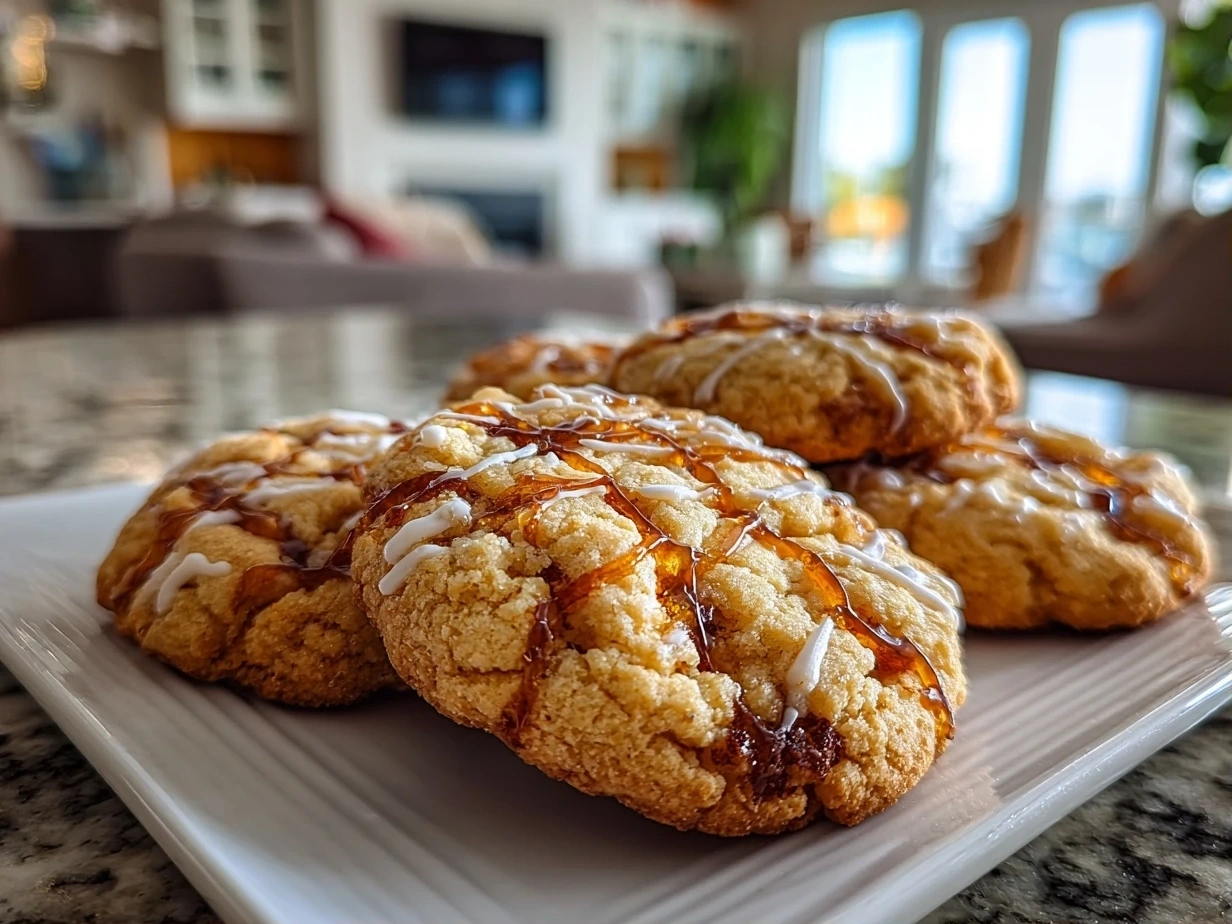
As the holiday season rolls around, my kitchen transforms into a magical workshop. It’s a time when the warmth of the oven mingles with the sweet aroma of spices. And there’s one treat that always steals the show: Stained Glass Cookies.
These aren’t just cookies; they’re edible works of art. Each one sparkles with vibrant colors that dance in the light. They bring smiles to faces young and old!
There’s something truly special about watching the transformation as hard candy melts into shimmering panes within a buttery sugar cookie frame. It’s a simple pleasure that connects us to joyful memories.
I remember the first time I attempted Stained Glass Cookies with my children. We laughed, we made a mess, and we created something beautiful together. Those moments are priceless.
I learned a few flavor secrets along the way. A hint of lemon zest brightens the dough. A dash of cinnamon adds warmth. These simple touches take these Stained Glass Cookies from ordinary to extraordinary.
Join me, fellow flavor seekers, as we embark on a delightful journey to create these dazzling treats. Let’s fill our kitchens with love, laughter, and the irresistible magic of Stained Glass Cookies. I’m here to help make your experience stress-free and enjoyable, resulting in a beautiful and tasty treat your family will adore.
INGREDIENTS You’ll Need:
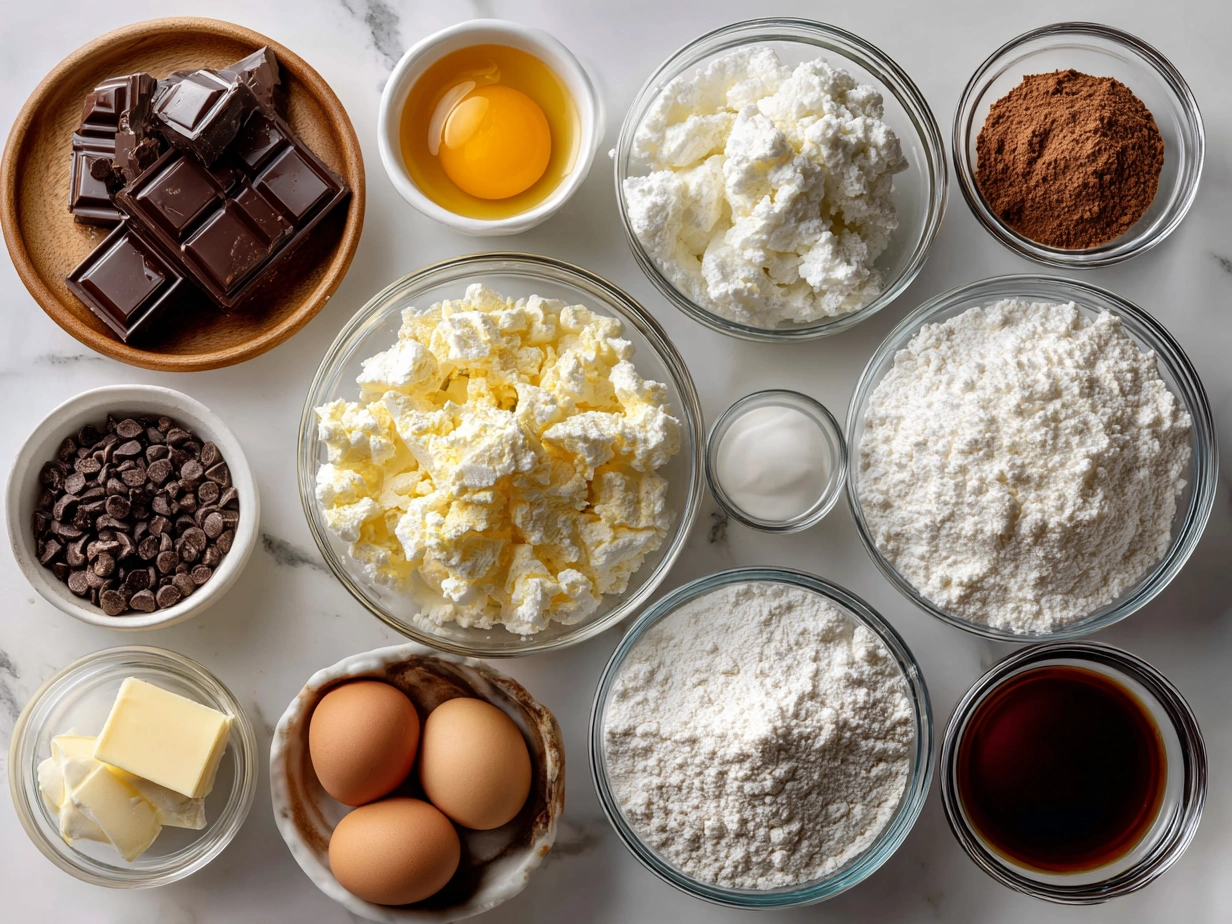
- 1 cup (2 sticks) unsalted butter, softened: The quality of your butter greatly impacts the flavor and texture of your sugar cookies, so choose wisely!
- 1 cup granulated sugar: Provides the perfect sweetness and structure for our cookies.
- 1 large egg: Binds the ingredients together, creating a tender crumb.
- 1 teaspoon vanilla extract: Adds a warm, comforting flavor that complements the other ingredients beautifully.
- 2 ½ cups all-purpose flour: Provides the necessary structure for the cookie dough.
- 1 teaspoon baking powder: Helps the cookies rise slightly, resulting in a light and airy texture.
- ¼ teaspoon salt: Balances the sweetness and enhances the other flavors.
- Assorted hard candies (such as Jolly Ranchers or Lifesavers), crushed: These will melt into the vibrant “stained glass” center of our cookies.
- Optional: Lemon zest: Adds a bright, citrusy note to the dough.
- Optional: Cinnamon: Enhances the dough with warmth and comfort.
For the best flavor in your Stained Glass Cookies, I recommend using high-quality butter and fresh spices. You’ll find the freshest ingredients for this Stained Glass Cookies at your local farmer’s market or specialty food store.
This Stained Glass Cookies proves that authentic flavor comes from thoughtful ingredient choices. My family loves when I add a pinch of cinnamon to our sugar cookies; it creates an extra layer of warmth that everyone enjoys. Trust me, this Stained Glass Cookies ingredient list focuses on quality over quantity for authentic flavors!
Let’s Create This Together!
- First, cream together the softened butter and granulated sugar in a large bowl until light and fluffy. This usually takes about 3-5 minutes with an electric mixer. Here’s where I used to miss a key step with my Stained Glass Cookies – learn from my experience!
- Beat in the egg and vanilla extract until well combined. If you want to add lemon zest or cinnamon, now is the perfect time. In my kitchen, this flavorful Stained Glass Cookies typically takes on a different aroma based on the additions I make.
- In a separate bowl, whisk together the flour, baking powder, and salt. This ensures that the dry ingredients are evenly distributed throughout the dough. Perfect time to appreciate the aromatic transformation!
- Gradually add the dry ingredients to the wet ingredients, mixing until just combined. Be careful not to overmix, as this can result in tough cookies. Don’t be surprised if your Stained Glass Cookies develops into a slightly sticky dough at this stage.
- Divide the dough in half, flatten each half into a disc, and wrap in plastic wrap. Refrigerate for at least 30 minutes to allow the dough to chill and become easier to handle. While your Stained Glass Cookies is developing these flavors, take a moment to appreciate creating something special for your family!
- Preheat your oven to 375°F (190°C). Line baking sheets with parchment paper.
- On a lightly floured surface, roll out one disc of dough to about ¼ inch thickness. Use cookie cutters to cut out your desired shapes, then use a smaller cookie cutter to cut out a shape within each cookie. These smaller shapes will be filled with the crushed hard candies. This flavorful Stained Glass Cookies reminds me of another family favorite: Halloween Crinkle Cookies.
- Place the cut-out cookies onto the prepared baking sheets, leaving some space between each cookie. Fill the center of each cookie with crushed hard candies. I prefer to use a variety of colors for a more vibrant effect.
- Bake for 6-8 minutes, or until the cookies are lightly golden brown and the hard candies are completely melted. Your sugar cookies should fill the kitchen with amazing aromas by now.
- Let the cookies cool completely on the baking sheets before carefully transferring them to a wire rack to cool completely. This allows the melted candy to harden and the Stained Glass Cookies to set properly.
How We Love to Enjoy This!
FAQs: Your Questions Answered
Final Kitchen Wisdom:
- A touch of lemon zest brightens the dough and complements the sweetness of the hard candy.
- Using high-quality butter makes a big difference in the flavor and texture of the cookies.
- Don’t be afraid to experiment with different flavors of hard candies to create unique and vibrant cookies.
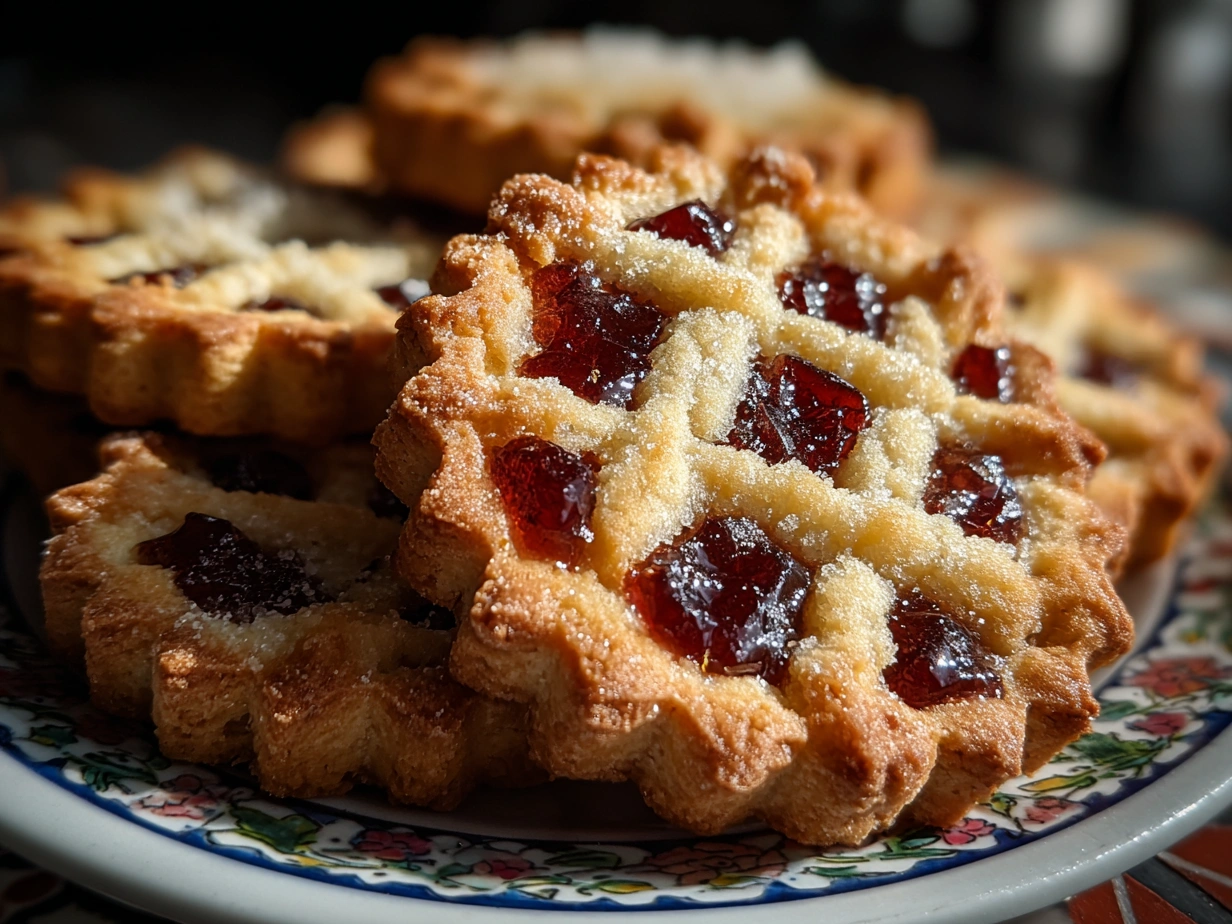
Stained Glass Cookies
These Stained Glass Cookies are beautiful and delicious! The colorful hard candy centers create a stunning effect that’s perfect for the holidays or any special occasion.
- Prep Time: 30 minutes
- Cook Time: 10 minutes
- Total Time: 40 minutes
- Yield: 24 cookies
- Category: Dessert
- Method: Baked
- Cuisine: American
Ingredients
- 1 cup (2 sticks) unsalted butter, softened
- 1 cup granulated sugar
- 2 large eggs
- 1 teaspoon vanilla extract
- 3 cups all-purpose flour
- 1 teaspoon baking powder
- 1/2 teaspoon salt
- Hard candies in assorted colors, crushed
Instructions
- In a large bowl, cream together the butter and sugar until light and fluffy.
- Beat in the eggs one at a time, then stir in the vanilla.
- In a separate bowl, whisk together the flour, baking powder, and salt.
- Gradually add the dry ingredients to the wet ingredients, mixing until just combined.
- Divide the dough in half, flatten into disks, and wrap in plastic wrap. Refrigerate for at least 1 hour.
- Preheat oven to 375°F (190°C). Line baking sheets with parchment paper.
- On a lightly floured surface, roll out one disk of dough to about 1/4-inch thickness.
- Use cookie cutters to cut out desired shapes. Use a smaller cutter to cut out a shape in the center of each cookie.
- Place the cookies on the prepared baking sheets.
- Fill the center cutouts with crushed hard candies.
- Bake for 8-10 minutes, or until the edges of the cookies are lightly golden and the candy is melted.
- Let the cookies cool completely on the baking sheets before removing.
Notes
For a festive touch, dust the cooled cookies with powdered sugar.