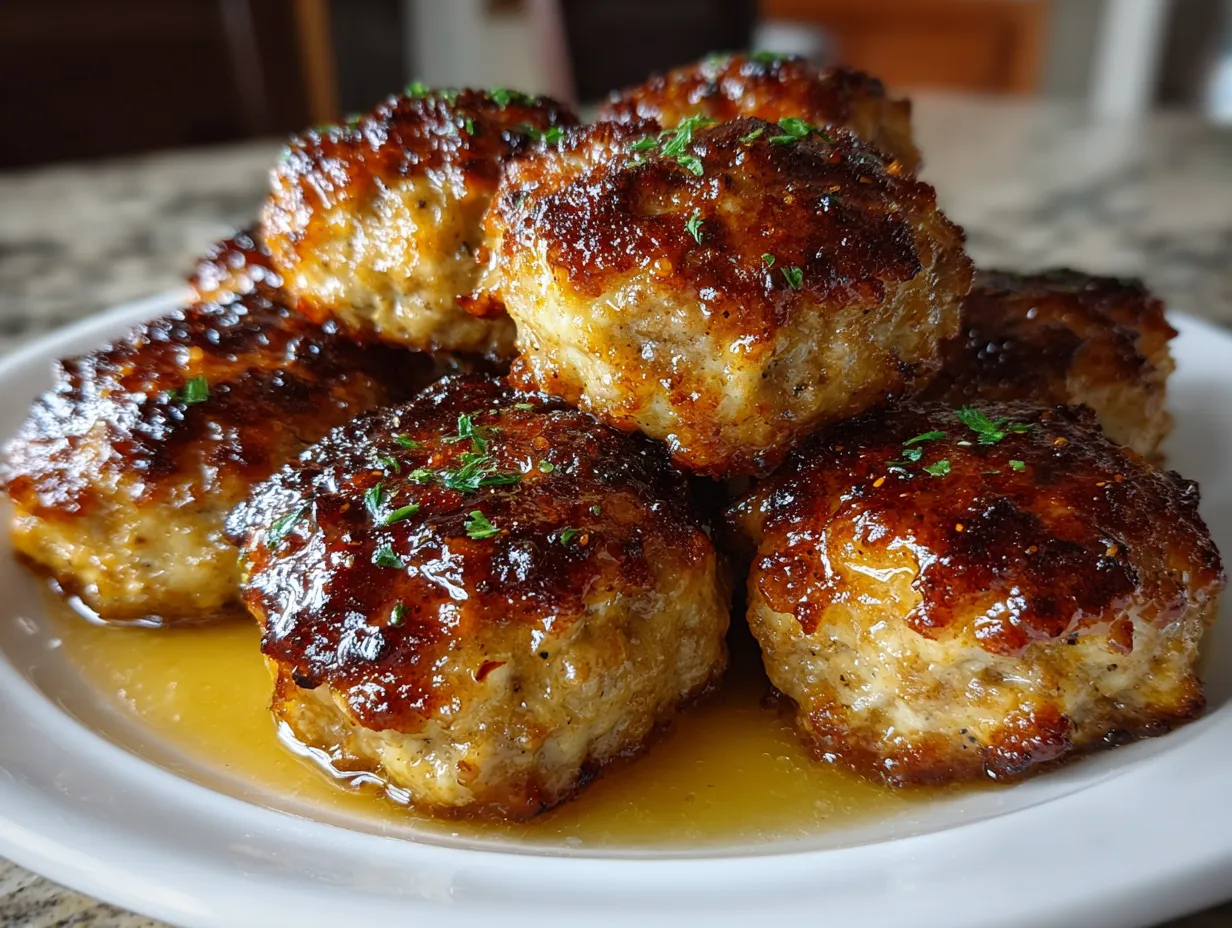
Bisquick Sausage Balls: A Family Favorite
Alright, let’s dive into the heart of simple, satisfying flavors with a family favorite: Bisquick Sausage Balls!
I’ve always believed the best meals are those that bring us together. For my family, that often means whipping up a batch of Bisquick Sausage Balls. There’s something about the savory aroma filling the kitchen, the eager anticipation in the air, and the simple joy of sharing a delicious bite that makes these moments so special.
My journey with these delightful Bisquick Sausage Balls started years ago, inspired by a need for quick, flavorful snacks during holiday gatherings. I wanted something that tasted like it came from the heart, not from a box. I tinkered with spices, played with cheese combinations, and perfected the texture until I landed on a recipe that had everyone asking for more.
What surprised me most was how much my kids loved helping out. Rolling the Bisquick Sausage Balls became a family activity. A fun way to connect and make memories in the kitchen. Now, even my teenagers look forward to these little moments of togetherness.
These Bisquick Sausage Balls aren’t just about convenience; they’re about creating connection. The flavors are comforting, the preparation is straightforward, and the result is always a crowd-pleaser. I’m thrilled to share my tried-and-true method, so you can create your own family memories around this simple dish. If you’re seeking genuine, flavorful meals that bring your family closer, you’ve come to the right place. Let’s get started!
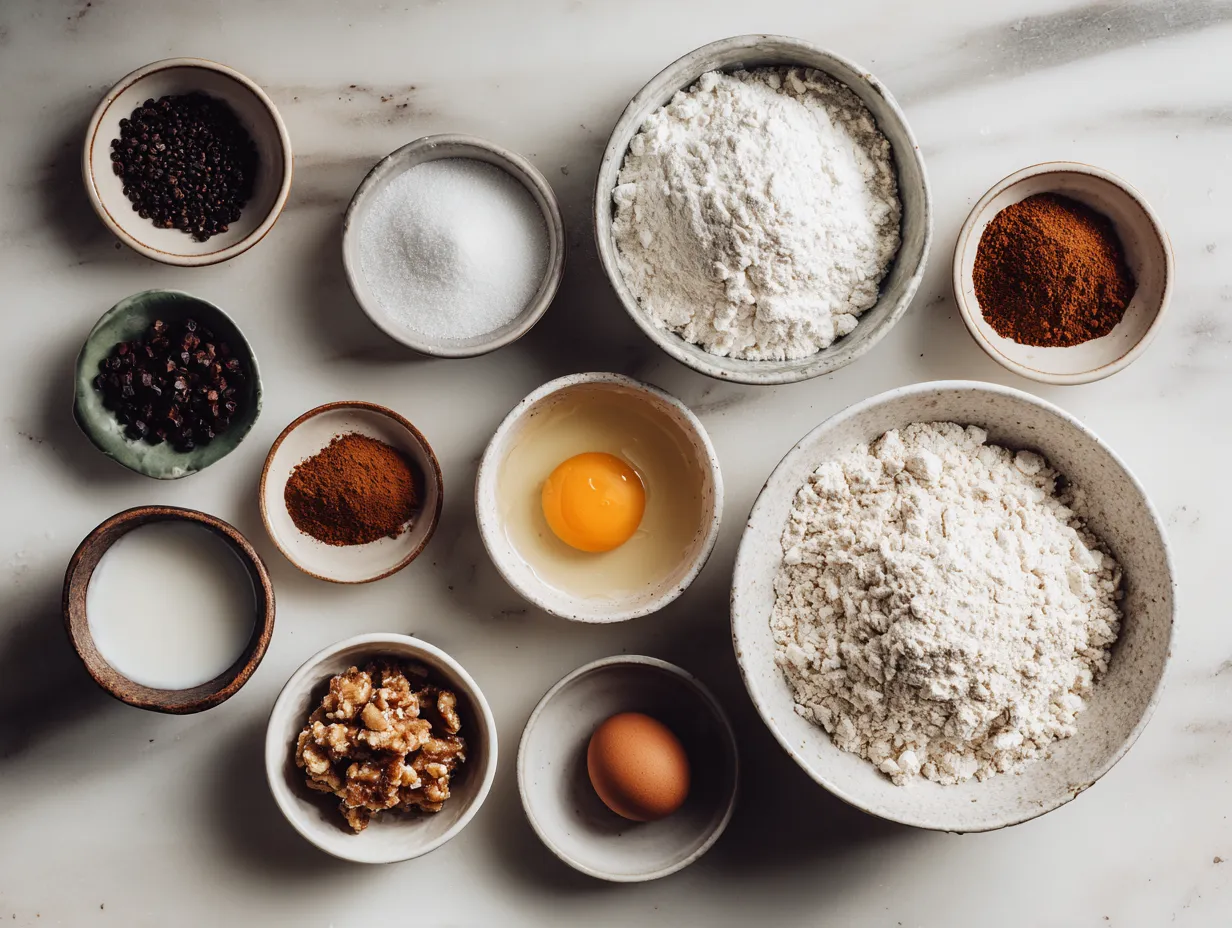
INGREDIENTS You’ll Need:
- 1 pound breakfast sausage: For the best flavor in your Bisquick Sausage Balls, I recommend using a high-quality breakfast sausage. Look for one with a good balance of savory spices and a hint of sweetness.
- 2 cups shredded cheddar cheese: Sharp cheddar adds a wonderful depth of flavor to these Bisquick Sausage Balls. Feel free to experiment with other cheeses like Colby Jack or Monterey Jack for a milder taste.
- 3 cups Bisquick baking mix: The foundation of our Bisquick Sausage Balls, this mix ensures a light, tender texture that perfectly complements the savory sausage and cheese.
- 1/2 cup milk: Milk helps to bind the ingredients together, creating a cohesive dough that’s easy to work with.
- Optional: 1 teaspoon garlic powder: My family loves when I add this extra touch to our Bisquick Sausage Balls! It enhances the savory notes and adds a delightful aroma.
- Optional: 1/4 teaspoon red pepper flakes: For a subtle kick, add a pinch of red pepper flakes. This adds a layer of warmth and complexity to the flavor profile of your Bisquick Sausage Balls.
- Optional: 2 tablespoons chopped fresh chives: Adds fresh herby taste and a pop of color!
This Bisquick Sausage Balls proves that authentic flavor comes from thoughtful ingredient choices. I’ve found that sourcing ingredients locally, whenever possible, elevates the taste and brings a special touch to every bite. Trust me, this ingredient list focuses on quality over quantity for authentic flavors! You’ll find the freshest ingredients for this Bisquick Sausage Balls at your local butcher or farmer’s market.
Here’s an Bisquick Sausage Balls flavor secret that transformed our family dinners: using a blend of mild and sharp cheddar cheese. It creates a balanced flavor profile that everyone enjoys.
Let’s Create This Together!
- Preheat your oven to 375°F (190°C). Preparing your oven ensures the Bisquick Sausage Balls cook evenly, achieving that perfect golden-brown exterior.
- In a large bowl, combine the breakfast sausage, shredded cheddar cheese, and Bisquick baking mix. Use your hands to thoroughly combine all the ingredients. The mixture should be evenly distributed.
- Add the milk (and garlic powder and red pepper flakes, if using) to the bowl. Gently mix until just combined. Be careful not to overmix, as this can result in tough Bisquick Sausage Balls.
- Roll the mixture into 1-inch balls. Place them on a baking sheet lined with parchment paper. This prevents sticking and ensures easy cleanup.
- Bake for 15-20 minutes, or until golden brown and cooked through. Here’s where I used to miss a key step with my Bisquick Sausage Balls—learn from my experience! Make sure the internal temperature reaches 165°F (74°C) for safety.
- Remove from oven and let cool slightly before serving. Perfect time to appreciate the aromatic transformation! Your Bisquick Sausage Balls should fill the kitchen with amazing aromas by now.
- Garnish with freshly chopped chives, if desired. This adds a fresh, vibrant touch to the presentation of your Bisquick Sausage Balls.
In my kitchen, this flavorful Bisquick Sausage Balls typically takes about 30 minutes from start to finish, making it a perfect option for busy weeknights. Don’t be surprised if your Bisquick Sausage Balls develops a slightly crispy exterior—that’s part of the charm!
While your Bisquick Sausage Balls are developing these flavors, take a moment to appreciate creating something special for your family! I have found that using a cookie scoop helps ensure uniform size and even cooking for each Bisquick Sausage Balls.
How We Love to Enjoy This!
The family gathers quickly when this aromatic Bisquick Sausage Balls appears with a side of honey mustard dipping sauce. The sweetness of the honey mustard perfectly complements the savory flavors of the Bisquick Sausage Balls, creating a delightful contrast that everyone loves.
These Bisquick Sausage Balls are perfect for those evenings when we want something truly satisfying! I often serve them as part of a brunch spread, alongside scrambled eggs, fresh fruit, and a warm pot of coffee. For a heartier meal, try pairing them with a side salad or a bowl of creamy tomato soup.
For holiday gatherings, I arrange the Bisquick Sausage Balls on a festive platter, garnished with fresh herbs and colorful dipping sauces. Presentation matters, and a beautifully arranged platter adds an extra touch of elegance to any occasion. My kids love to dip theirs in ranch dressing, while my husband prefers a spicy sriracha mayo.
Leftover Bisquick Sausage Balls can be transformed into a delicious breakfast casserole. Simply crumble the balls and mix them with eggs, cheese, and your favorite vegetables. Bake until golden brown and bubbly for a hearty, flavorful breakfast. Speaking of flavor, why not try the cheesy rotel sausage balls for something similar?
During the fall, I love to add a touch of maple syrup to the Bisquick Sausage Balls mixture. The warm, sweet flavor of maple syrup adds a cozy, seasonal twist that’s perfect for cooler weather.
My guests always rave about the delicious, savory flavor of these Bisquick Sausage Balls. They’re always a hit, and I often get requests for the recipe. I love sharing this simple, flavorful dish because it brings so much joy to those who eat it.
FAQs: Your Questions Answered
Does this Bisquick Sausage Balls really satisfy hearty appetites?
Absolutely! These Bisquick Sausage Balls are surprisingly filling, thanks to the combination of sausage, cheese, and Bisquick. They make a great snack or a satisfying addition to any meal.
What if someone in my family prefers milder flavors in their Bisquick Sausage Balls?
No problem! You can easily adjust the flavor profile by using a milder breakfast sausage and omitting the red pepper flakes. You can also experiment with different types of cheese, such as Monterey Jack or mozzarella, for a milder taste.
How can I prepare this Bisquick Sausage Balls ahead for busy weeks?
You can definitely make the Bisquick Sausage Balls ahead of time. Simply prepare the mixture, roll it into balls, and store them in an airtight container in the refrigerator for up to 24 hours. When ready to bake, simply place them on a baking sheet and bake as directed.
Can I freeze these Bisquick Sausage Balls for longer storage?
Yes, you can freeze these Bisquick Sausage Balls for up to 2 months. Place the unbaked balls on a baking sheet and freeze until solid. Then, transfer them to an airtight container or freezer bag. When ready to bake, bake from frozen, adding a few extra minutes to the baking time.
What kind of Bisquick mix works best for this recipe?
I’ve found that the original Bisquick baking mix works best for these Bisquick Sausage Balls. It provides the perfect balance of tenderness and structure, ensuring that the balls hold their shape and don’t become too dense.
Can I add other ingredients to these Bisquick Sausage Balls?
Absolutely! Feel free to get creative and add your favorite ingredients. Some popular additions include chopped onions, green peppers, or even cream cheese for added richness. Think cheddar bay biscuit sausage balls!
Are there any gluten-free alternatives for the Bisquick mix?
Yes, there are gluten-free Bisquick alternatives available. Just be sure to check the ingredient list and follow the package instructions for best results. This will make it even easier for everyone to enjoy Bisquick Sausage Balls!
Final Kitchen Wisdom:
This simple Bisquick Sausage Balls recipe perfectly supports my family’s goal of enjoying authentic, flavorful meals together. It’s quick, easy, and always a crowd-pleaser, making it a staple in my kitchen. Plus, you can find other variations on the web such as this, Bisquick Sausage Balls Recipe.
My Bisquick Sausage Balls Flavor Secrets:
- High-Quality Sausage: The better the sausage, the better the flavor.
- Cheese Variety: Experiment with different cheeses for unique flavor profiles.
- Don’t Overmix: Overmixing leads to tough Bisquick Sausage Balls.
Here are a few family-tested Bisquick Sausage Balls variations:
- Spicy Sausage Balls: Add a generous pinch of red pepper flakes and a dash of cayenne pepper for extra heat.
- Cheesy Jalapeño Sausage Balls: Mix in diced jalapeños and pepper jack cheese for a spicy, cheesy kick.
- Italian Sausage Balls: Use Italian sausage and add a blend of Italian herbs for an authentic Italian flavor.
My husband prefers the spicy sausage balls, while my kids love the cheesy jalapeño version. I personally enjoy the classic recipe with a touch of garlic powder.
I encourage you to make this Bisquick Sausage Balls your signature version by experimenting with different flavors and ingredients. Don’t be afraid to get creative and have fun in the kitchen! You could even try this recipe for, Bisquick Sausage Balls (3 Ingredients!) – Belle of the Kitchen.
I hope these tips and insights inspire you to create your own family memories around this satisfying Bisquick Sausage Balls recipe. I have faith that you can use my tips, tricks and advice to craft your own version of this southern classic.

Happy cooking, fellow flavor seekers! May your kitchen be filled with warmth, laughter, and the delicious aroma of Bisquick Sausage Balls! If your kids love this, they’ll go crazy for the classic Bisquick sausage balls. For more sanity-saving dinner ideas, check out my recipe for Italian sausage and potato soup!
Print
Bisquick Sausage Balls

These classic Bisquick Sausage Balls are a crowd-pleasing appetizer or snack, perfect for parties or a quick breakfast. They’re incredibly easy to make with just a few simple ingredients!
- Prep Time: 10 minutes
- Cook Time: 25 minutes
- Total Time: 35 minutes
- Yield: 30 sausage balls
- Category: Appetizer
- Method: Baked
- Cuisine: American
Ingredients
- 1 pound ground pork sausage
- 3 cups Bisquick baking mix
- 1 cup shredded cheddar cheese
- 1/2 cup milk
Instructions
- Preheat oven to 350°F (175°C).
- In a large bowl, combine the ground pork sausage, Bisquick baking mix, shredded cheddar cheese, and milk.
- Mix all ingredients together until well combined.
- Roll the mixture into 1-inch balls.
- Place the sausage balls on a baking sheet lined with parchment paper.
- Bake for 20-25 minutes, or until golden brown and cooked through.
- Let cool slightly before serving.
Notes
Serve warm with your favorite dipping sauce, such as ranch dressing or honey mustard.